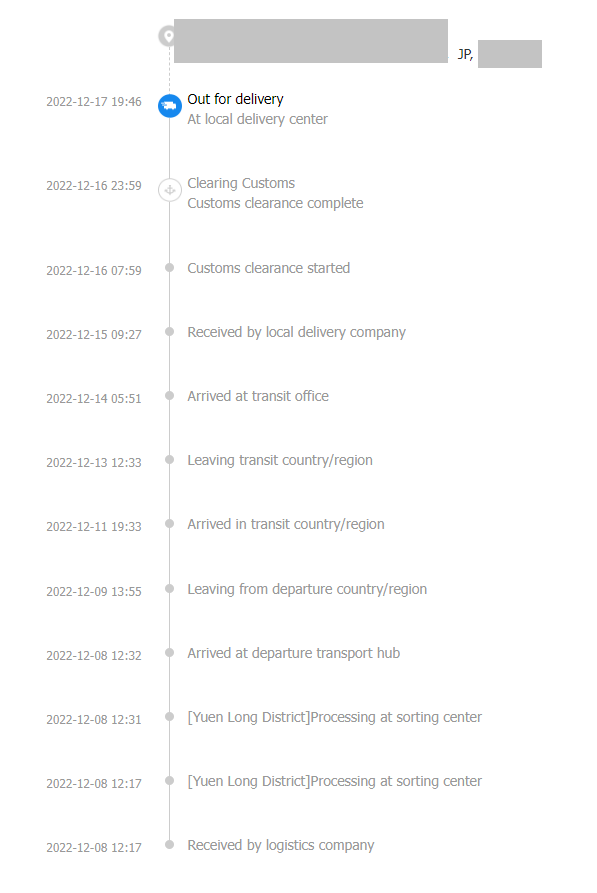
2022年11月12日に発注し2022年12月5日に発送連絡があった Orange PI 5が12月19日に届いた。
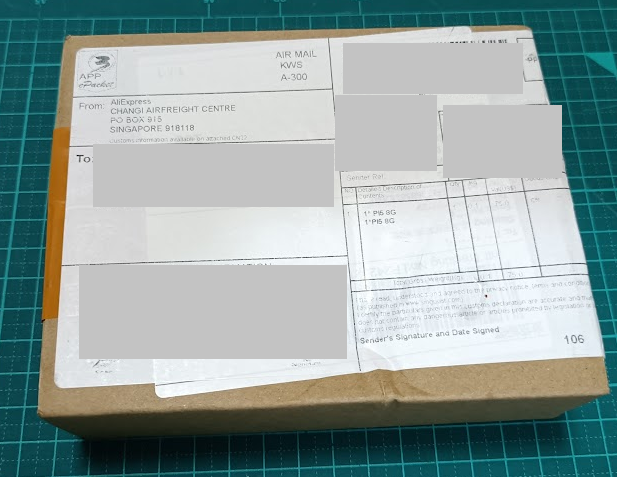
Orange Pi のいつもの箱に入って届いた

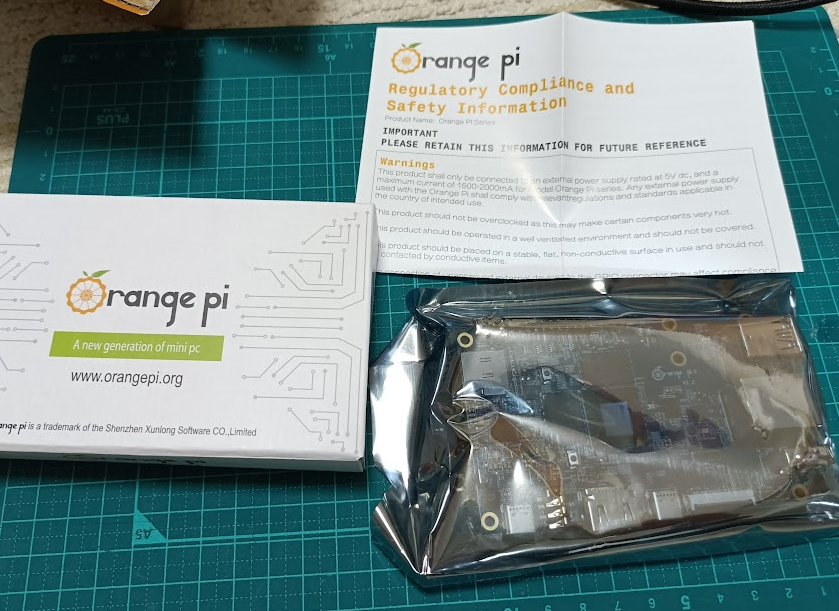
中身もいつものごとく
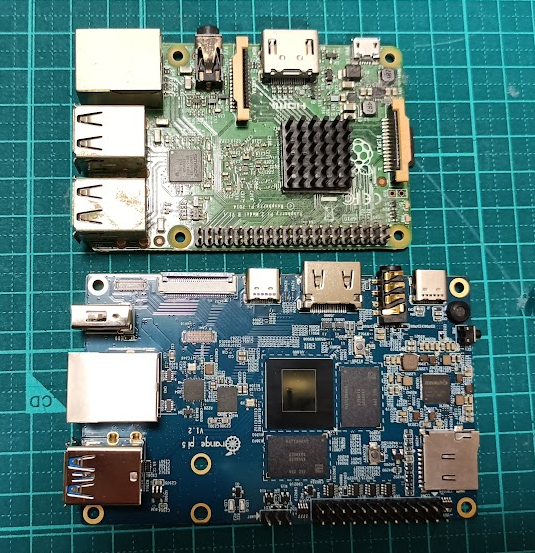
ラズパイ2BとOrange Pi 5を並べて見る
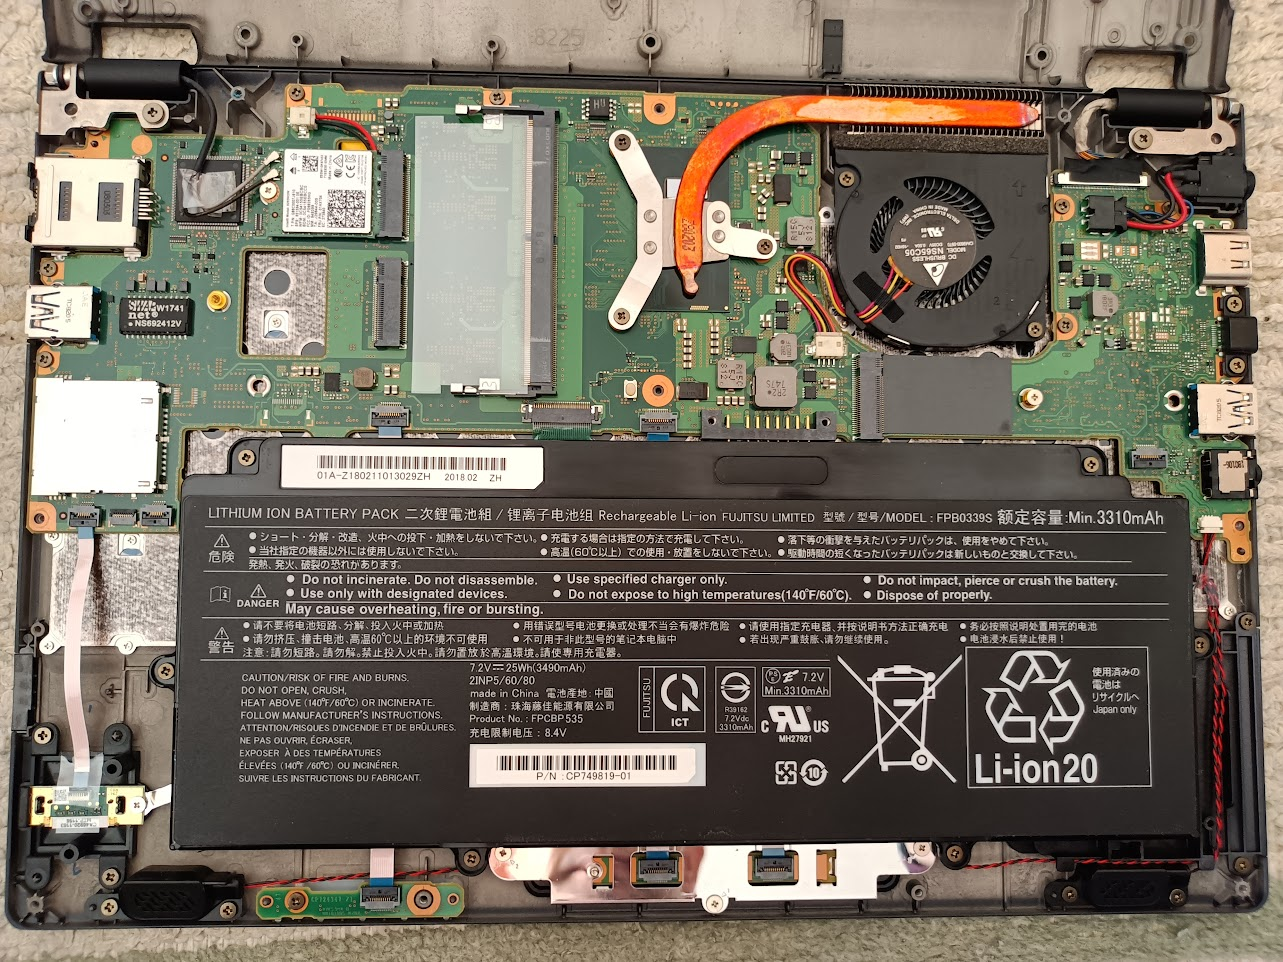
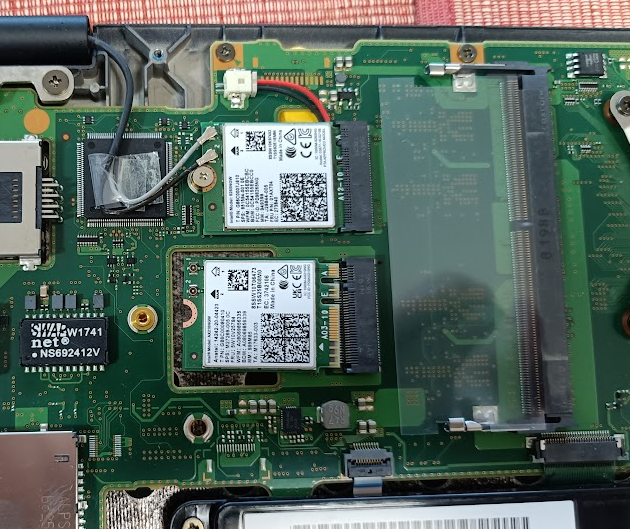
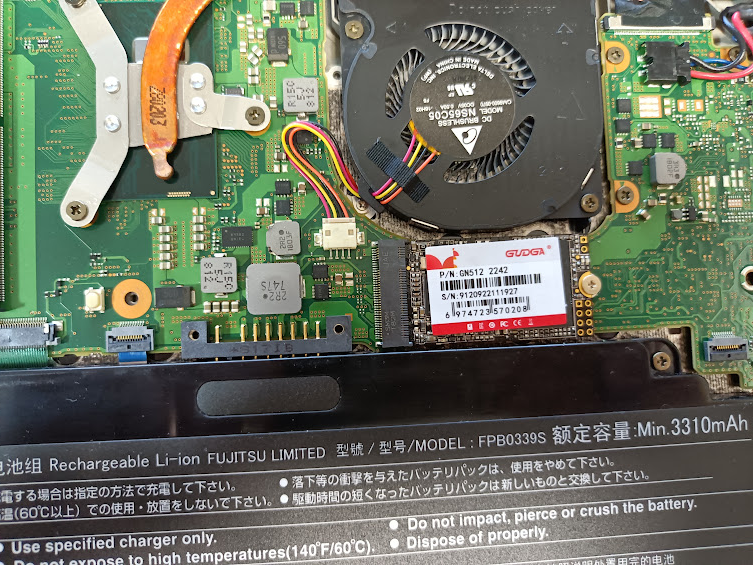
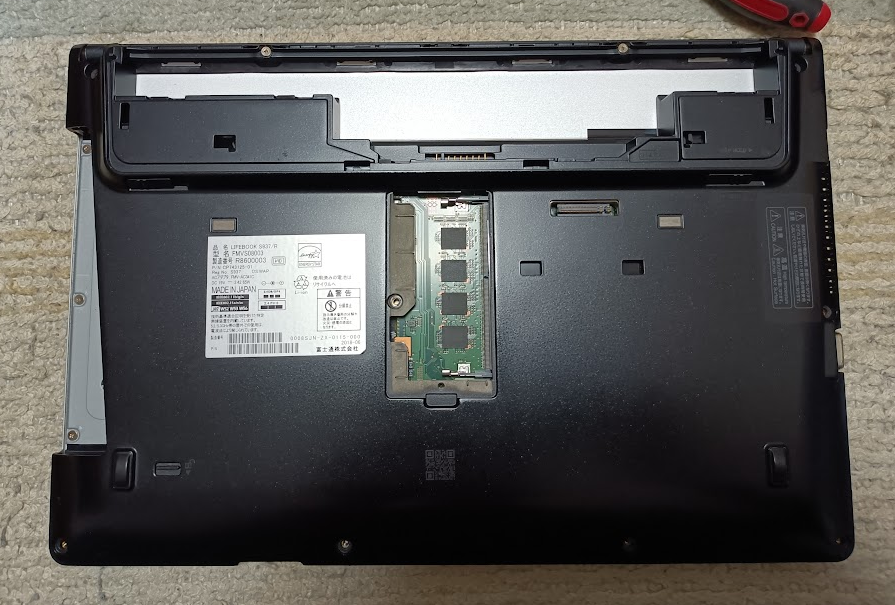
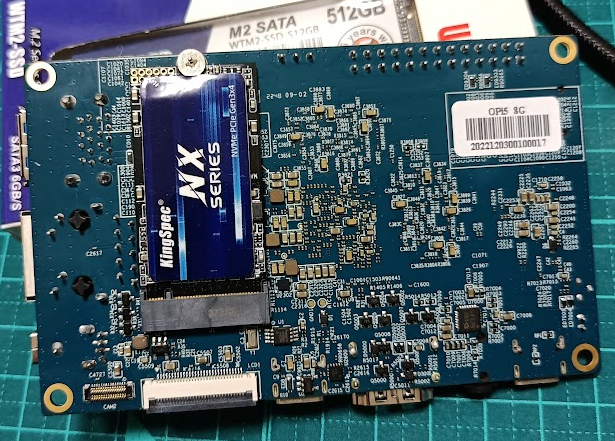
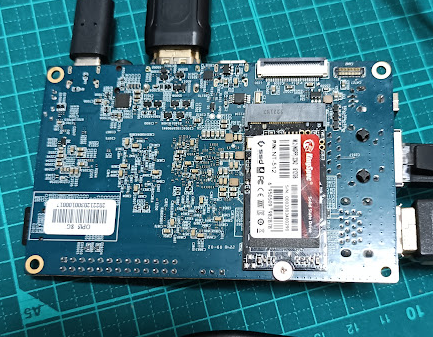
裏面にM.2 コネクタがありますが、止めるためのネジが付属してないのでどうにか調達する必要があります。
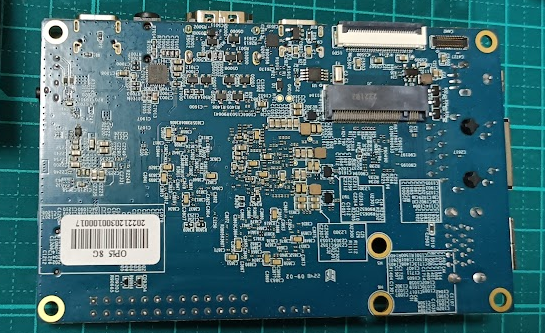
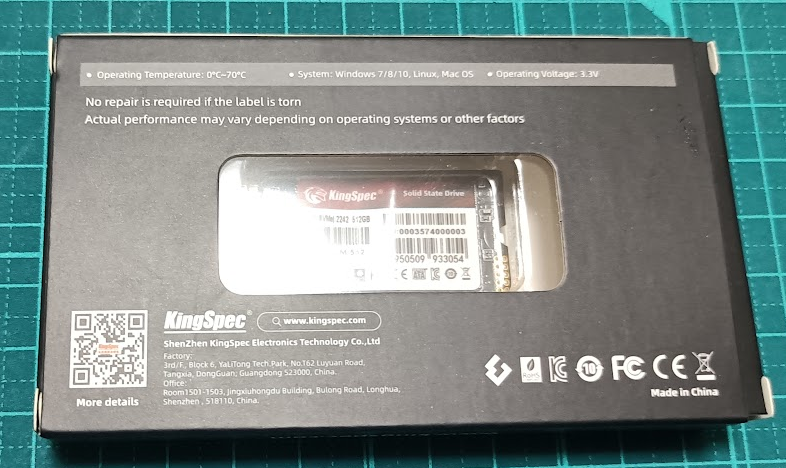
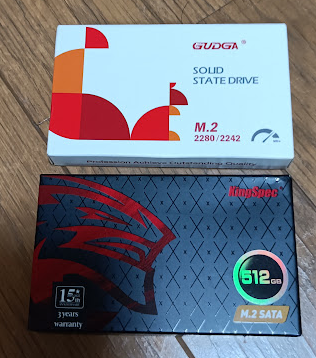
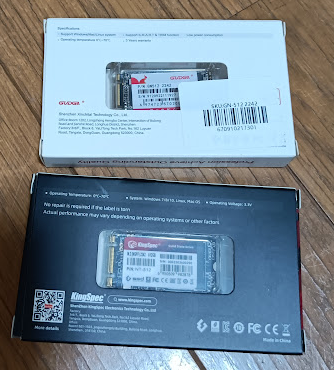
私の場合はたまたま別件で買ったM.2 SSDにネジが添付されていたのでそれを流用しました。
さて、ここからは実際に使う為の資料について・・・
資料について
公式のマニュアルはOrange Pi 5 Downloadページ にあるUser Manualリンク にあるOrangePi_5_RK3588S_User Manual_v0.2.pdf となる。(2022/12/08版)
電源について
Orange Pi 5の注意点として電源はType-Cコネクタ形状だけれども、USB PD非対応で、5V4Aのみを受け付けるだけの単機能コネクタである、ということ。
このため、ノートパソコンなど用のType-C PD電源ををつなげても動作しません。
私の場合、秋月でラズパイ4用として売ってる「スイッチングACアダプター(USB ACアダプター) Type-Cオス 5.1V3.8A 」を買って使っています。
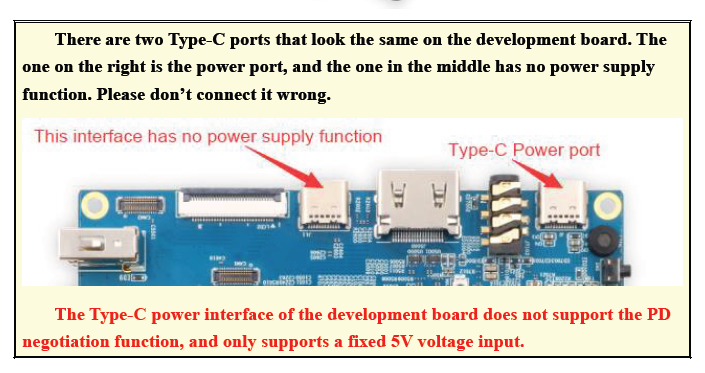
まお、マニュアルの上記記述にあるように、USB Type-Cとして使えるコネクタの方は電源供給には使えません。
裏面にあるM.2 コネクタには2242サイズのNVMeストレージを取り付けることができますが、固定する為のネジが添付されていません。
Orange Pi 5の基盤自体を固定する為の四隅の穴は3.0mmですが、M.2用の2230/2242用の固定穴は3.5mmとのこと。

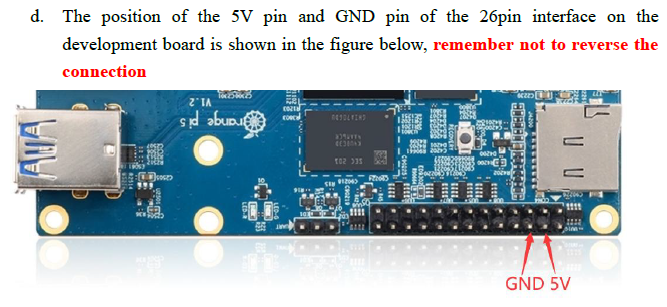
また、GPIO端子から電源を供給することは可能ですが、推奨されていません。

GPIO端子に逆接続防止措置はないので、誤って逆に接続してしまうと基板が死ぬので注意してください。
OS書き込みについて
Linuxの場合
microSDの起動ディスクをつくる場合、Linuxを書き込む場合はddやrufus,etcher,win32diskimagerで書き込みます。
NVMe SSD起動にしたい場合は、一度microSDで起動させた後、NVMe SSDへのインストール処理を行う形となります。
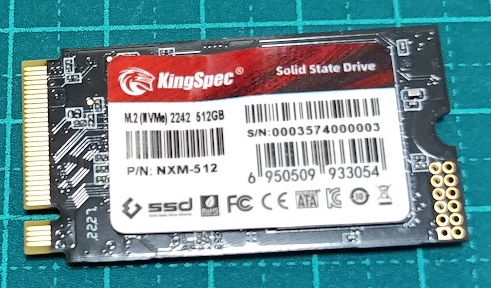
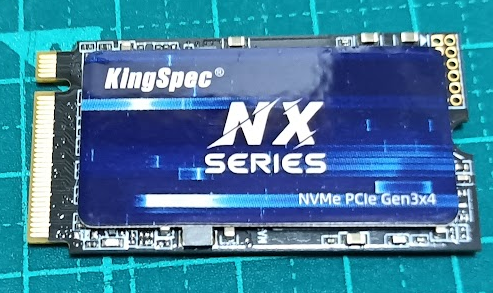
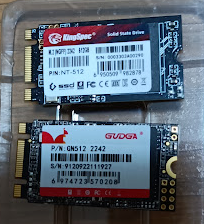
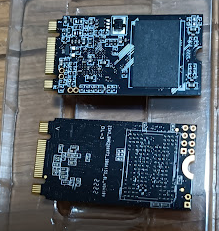
使用できるNVMe SSDは、2230サイズもしくは2242サイズのものです。
NVMe SSD用に確保されている帯域は PCIe2.0x1 となっており、理論上は500MB/sまでとなります。PCIe3.0やPCIe4.0のSSDを使用しても、PCIe2.0x1で止まります。
NVMe SSDへのインストールは、Orange Pi公式配布のDebian/Ubuntuの場合「sudo nand-sata-install」を実行することでSPI Flashへブートローダを書き込み、NVMe SSDから起動できるような設定を行った上で、Linux用ディスクイメージファイルをddコマンドで/dev/nvme0n1に書き込みを行います。
書き込み後は、Linuxをshutdownし、microSDを抜いて、NVMe SSDのみとして起動します。
起動後、Orange Pi公式配布のDebian/Ubuntuの場合「sudo fix_mmc_ssd.sh」を実行し、ディスクのパーテーション調整を行います。(後述しますが、この手順は不要でした)
なお、初期ユーザは「root」パスワード「orangepi」と、ユーザ「orangepi」パスワード「orangepi」の2つがあります。
また、自動ログインの有効/無効が別途用意されているコマンドで設定できます。
詳細はUser Manualにて。
Androidの場合
Rockchip用のAndroidを起動するためのmicroSDは専用の書き込みソフトSDDiskTool(Windows)を使用する必要があります。
また、NVMe SSDからAndroidを起動したい場合は、Windows+専用ドライバ/書き込みソフト(RKDevTool)を使うことで、microSDを経由せずにType-Cケーブル経由で直接書き込むことが可能です。
ネットワーク設定について
Orange Pi公式が配布しているUbuntu/Debianイメージではネットワーク接続を /etc/network/interfaces ファイルの編集ではなくNetwork Manager経由で行う、ということになっています。
nmcliやnmtuiコマンドで設定します。
実際にセットアップしてみた
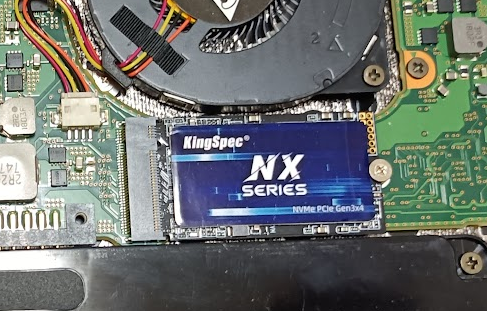
M.2 2242サイズのNVMe SSDを取り付けて…
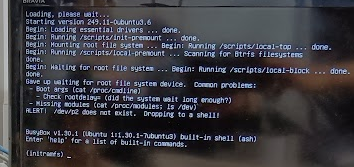
Orangepi5_1.0.6_ubuntu_jammy_desktop_xfce_linux5.10.110.img をmicroSDに書き込んで初回起動すると、X-Windowでログインした状態となる
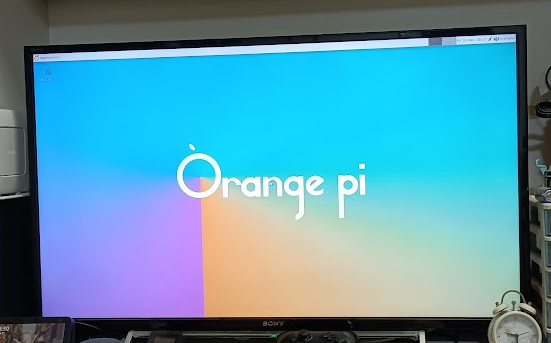
この際のユーザは「orangepi」
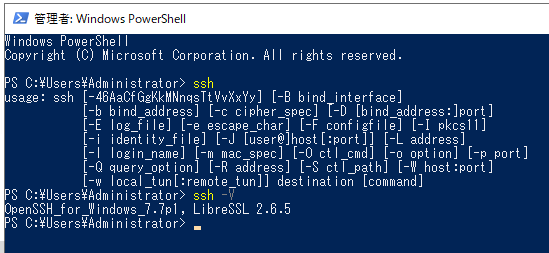
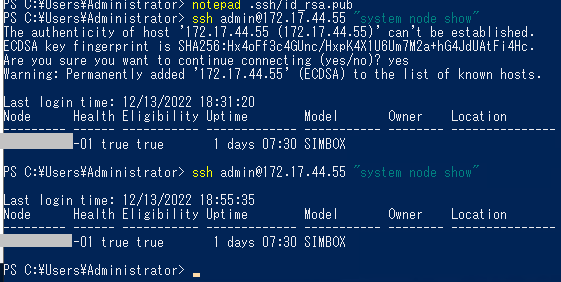
コマンドで「ip a s」などを実行してIPアドレスを確認して、sshでログイン
その際は「orangepi」でパスワードも「orangepi」
  ___  ____  _   ____
 / _ \|  _ \(_) | ___|
| | | | |_) | | |___ \
| |_| |  __/| |  ___) |
 \___/|_|   |_| |____/

Welcome to Orange Pi 1.0.6 Jammy with Linux 5.10.110-rockchip-rk3588

System load:   2%               Up time:       7 min    Local users:   3
Memory usage:  8% of 7.51G      IP:            192.168.1.141
CPU temp:      39°C            Usage of /:    16% of 29G

[ 2 security updates available, 2 updates total: apt upgrade ]
Last check: 2022-12-16 16:17

[ General system configuration (beta): orangepi-config ]

Last login: Fri Dec 16 16:17:44 2022
orangepi@orangepi5:~$
カスタマイズするためのスクリプト群が /usr/local/bin に用意されている
orangepi@orangepi5:~$ ls -l /usr/local/bin
total 1360
-rwxrwxr-x 1 root root    992 Dec  7 09:26 auto_login_cli.sh
-rwxrwxr-x 1 root root   9632 Dec  7 09:26 blink_all_gpio
-rwxrwxr-x 1 root root     47 Dec  7 09:26 cat_serial.sh
-rwxrwxr-x 1 root root    560 Dec  7 09:26 compile_python.sh
-rwxrwxr-x 1 root root    316 Dec  7 09:26 desktop_login.sh
-rwxrwxr-x 1 root root    140 Dec  7 09:26 disable_desktop_autologin.sh
-rwxrwxr-x 1 root root   2036 Dec  7 09:26 drm-hotplug.sh
-rwxrwxr-x 1 root root     86 Dec  7 09:26 enable_docker.sh
-rwxrwxr-x 1 root root    265 Dec  7 09:26 fix_mmc_ssd.sh
-rwxr-xr-x 1 root root    195 Dec 15 18:27 gpu_load.sh
-rwxrwxr-x 1 root root    111 Dec  7 09:26 install_bt_panel.sh
-rwxrwxr-x 1 root root    684 Dec  7 09:26 install_docker.sh
-rwxr-xr-x 1 root root    565 Dec 16 11:41 install_qt.sh
-rwxrwxr-x 1 root root   2364 Dec 16 15:36 install_ros.sh
-rwxrwxr-x 1 root root  76188 Dec  7 09:26 io
-rwxrwxr-x 1 root root  22896 Dec  7 09:26 memtester
-rwxrwxr-x 1 root root 772832 Dec  7 09:26 modetest
-rwxrwxr-x 1 root root  38856 Dec  7 09:26 multivideoplayer
-rwxrwxr-x 1 root root     78 Dec  7 09:26 reset_ssh.sh
-rwxrwxr-x 1 root root    115 Dec 12 09:41 set_device.sh
-rwxrwxr-x 1 root root    242 Dec 12 09:41 set_vnc.sh
-rwxrwxr-x 1 root root  19672 Dec  7 09:26 spidev_test
-rwxrwxr-x 1 root root 254056 Dec  7 09:26 stressapptest
-rwxrw-r-- 1 root root   1197 Dec 14 15:56 test_camera.sh
-rwxrwxr-x 1 root root    175 Dec 12 09:41 test_dec_mpv.sh
-rwxrwxr-x 1 root root    168 Dec  7 09:26 test_rknn_demo.sh
-rwxr-xr-x 1 root root    501 Dec 16 15:36 test_ros.sh
-rwxrwxr-x 1 root root    446 Dec  7 09:26 test_rtsp.sh
-rwxrwxr-x 1 root root  14736 Dec  7 09:26 tinycap
-rwxrwxr-x 1 root root  19448 Dec  7 09:26 tinymix
-rwxrwxr-x 1 root root  14440 Dec  7 09:26 tinypcminfo
-rwxrwxr-x 1 root root  19048 Dec  7 09:26 tinyplay
-rwxrwxr-x 1 root root     65 Dec  7 09:26 typec_usb2.sh
-rwxrwxr-x 1 root root    123 Dec 15 18:41 vpu_debug.sh
-rwxrwxr-x 1 root root  13816 Dec 16 16:23 watchdog_test
orangepi@orangepi5:~$ ls -l /usr/local/sbin
total 0
orangepi@orangepi5:~$
NVMe SSDにインストールするには/dev/nvme0n1に対してインストールイメージを書き込む
まずデバイス名確認。テストに使用したものなのでパーテーションが2つ作られている
orangepi@orangepi5:~$ ls -l /dev/nvme0*
crw------- 1 root root 239, 0 Dec 16 16:17 /dev/nvme0
brw-rw---- 1 root disk 259, 0 Dec 16 16:17 /dev/nvme0n1
brw-rw---- 1 root disk 259, 1 Dec 16 16:17 /dev/nvme0n1p1
brw-rw---- 1 root disk 259, 2 Dec 19 19:30 /dev/nvme0n1p2
orangepi@orangepi5:~$
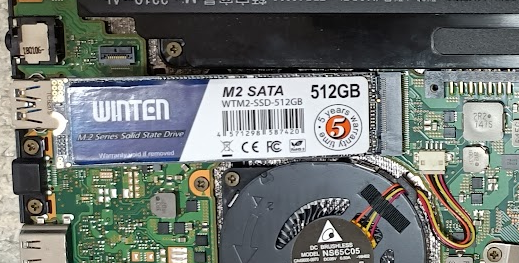
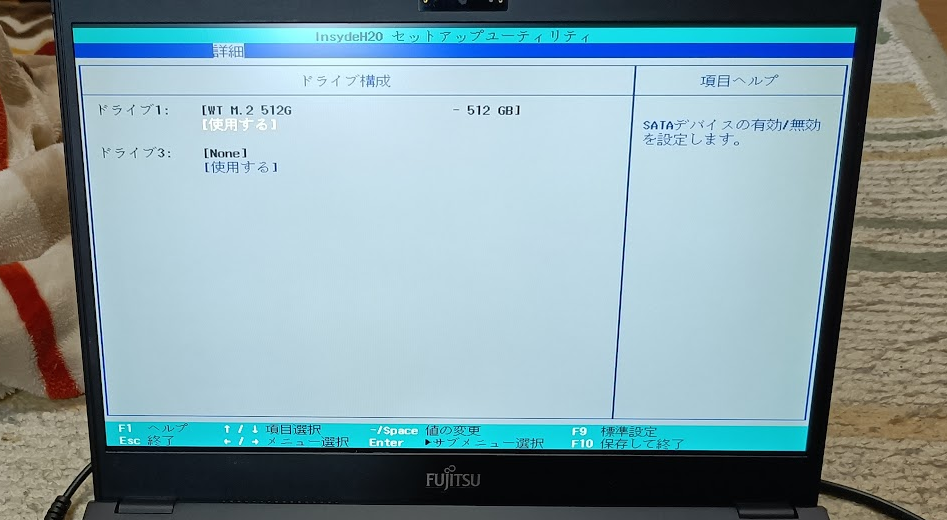
確認のためM.2 SATA SSDが認識できないかを確認してみる
orangepi@orangepi5:~$ sudo fdisk -l
[sudo] password for orangepi:
Disk /dev/ram0: 4 MiB, 4194304 bytes, 8192 sectors
Units: sectors of 1 * 512 = 512 bytes
Sector size (logical/physical): 512 bytes / 4096 bytes
I/O size (minimum/optimal): 4096 bytes / 4096 bytes


Disk /dev/zram0: 3.75 GiB, 4031569920 bytes, 984270 sectors
Units: sectors of 1 * 4096 = 4096 bytes
Sector size (logical/physical): 4096 bytes / 4096 bytes
I/O size (minimum/optimal): 4096 bytes / 4096 bytes


Disk /dev/mtdblock0: 16 MiB, 16777216 bytes, 32768 sectors
Units: sectors of 1 * 512 = 512 bytes
Sector size (logical/physical): 512 bytes / 512 bytes
I/O size (minimum/optimal): 512 bytes / 512 bytes


Disk /dev/mmcblk1: 29.9 GiB, 32105299968 bytes, 62705664 sectors
Units: sectors of 1 * 512 = 512 bytes
Sector size (logical/physical): 512 bytes / 512 bytes
I/O size (minimum/optimal): 512 bytes / 512 bytes
Disklabel type: gpt
Disk identifier: 53AE4D8D-573C-E044-AB71-027F31F37494

Device          Start      End  Sectors  Size Type
/dev/mmcblk1p1  61440   585727   524288  256M Linux extended boot
/dev/mmcblk1p2 585728 62062591 61476864 29.3G Linux filesystem


Disk /dev/zram1: 200 MiB, 209715200 bytes, 51200 sectors
Units: sectors of 1 * 4096 = 4096 bytes
Sector size (logical/physical): 4096 bytes / 4096 bytes
I/O size (minimum/optimal): 4096 bytes / 4096 bytes
orangepi@orangepi5:~$ ls /dev/nv*
ls: cannot access '/dev/nv*': No such file or directory
orangepi@orangepi5:~$
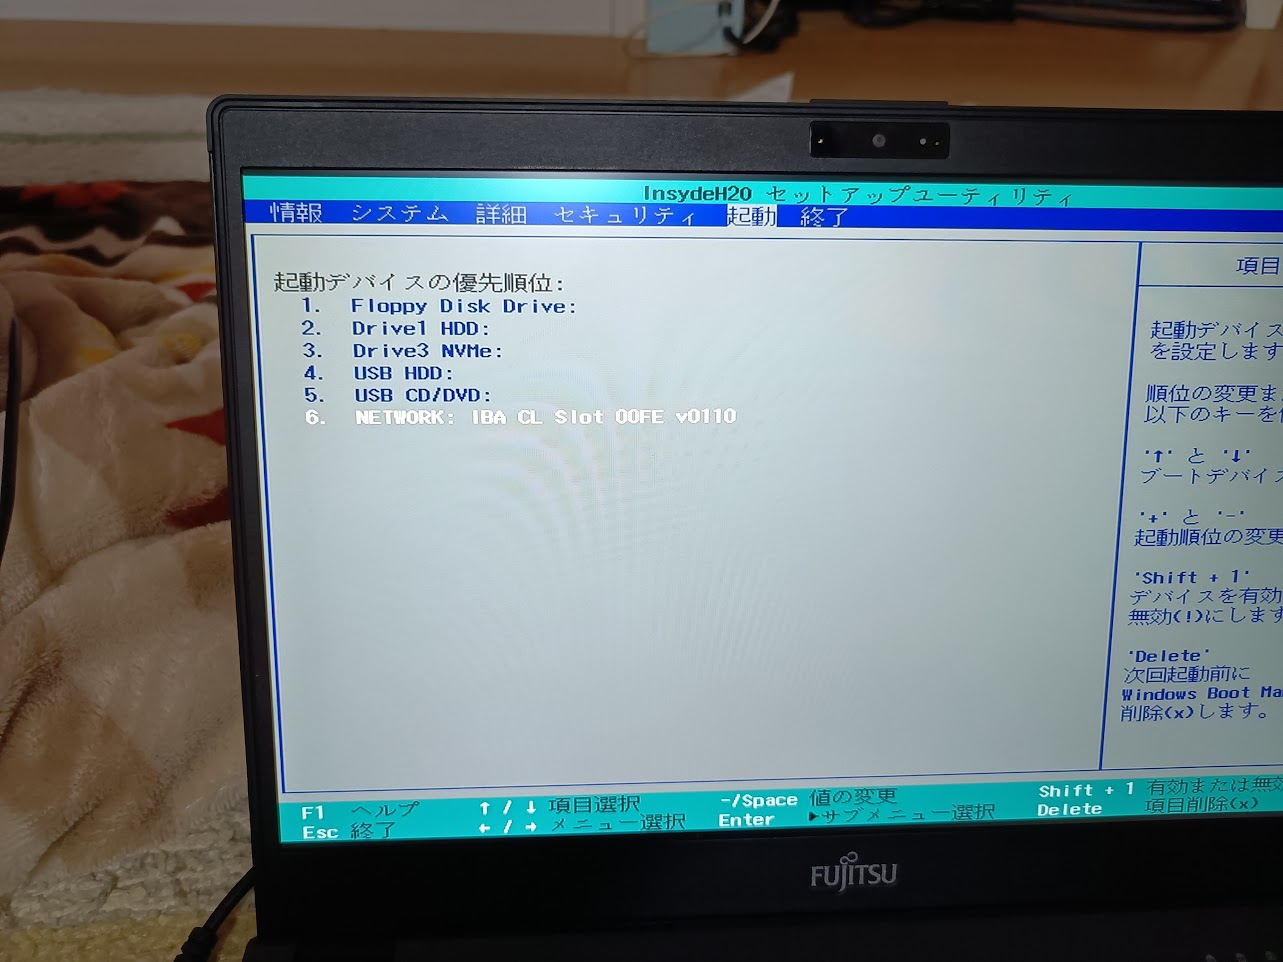
M.2 SATA SSDでは認識しないことを確認
(2022/12/21追記: データディスクとしてならM.2 SATAも動くことを確認しました → 詳細)
まあ、そういう仕様ですしね
さて、NVMe SSDに戻して、マニュアル記載のSPI Flash書き換えコマンドを実行
「sudo nand-sata-install」を実行して以下の画面とします。
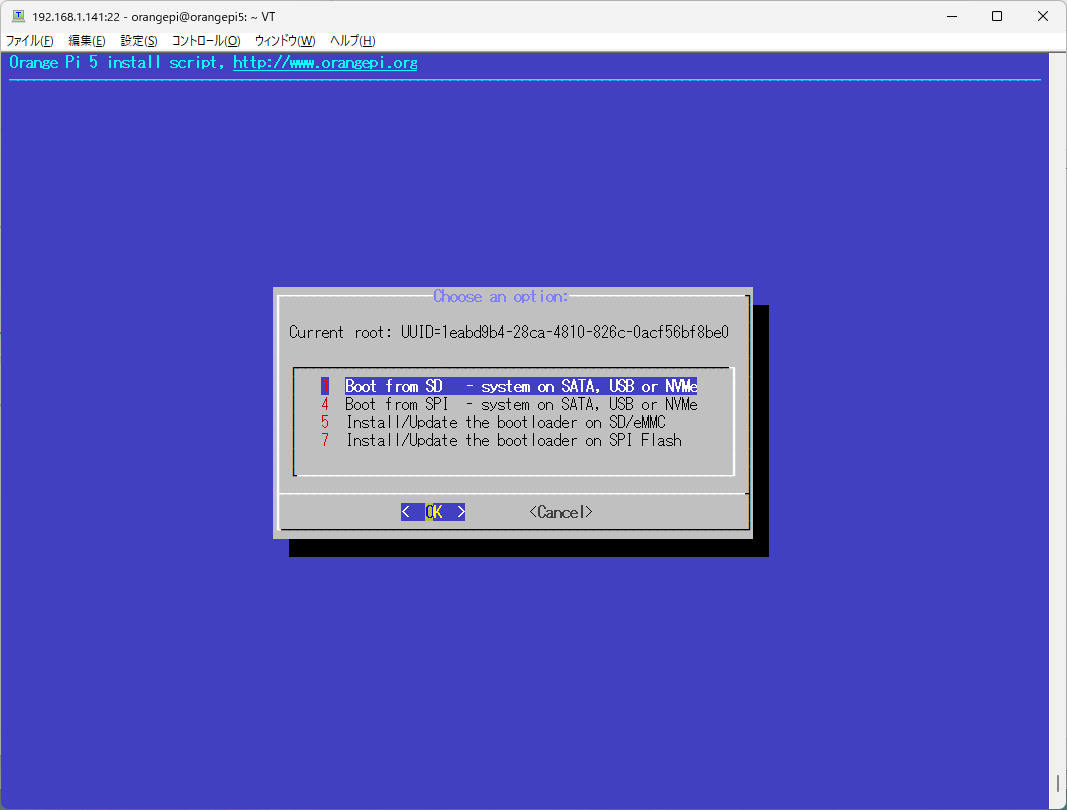
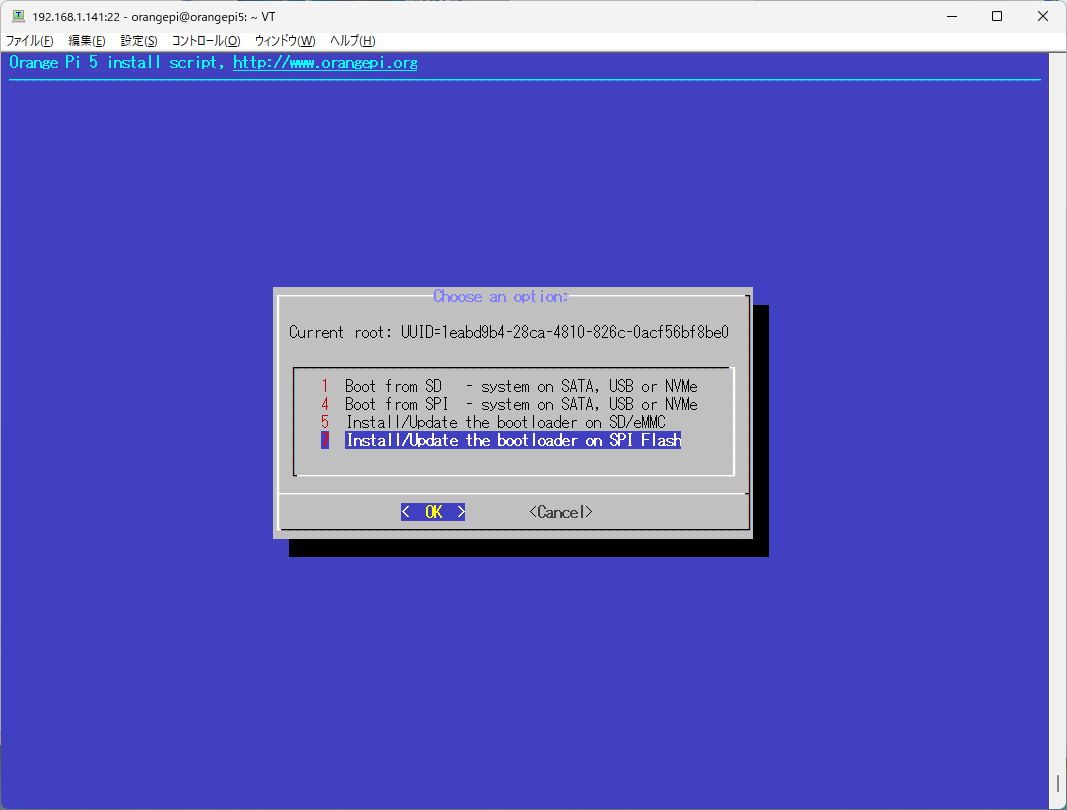
「7 Install/Update the bootloader on SPI Flash」を選択してOKします
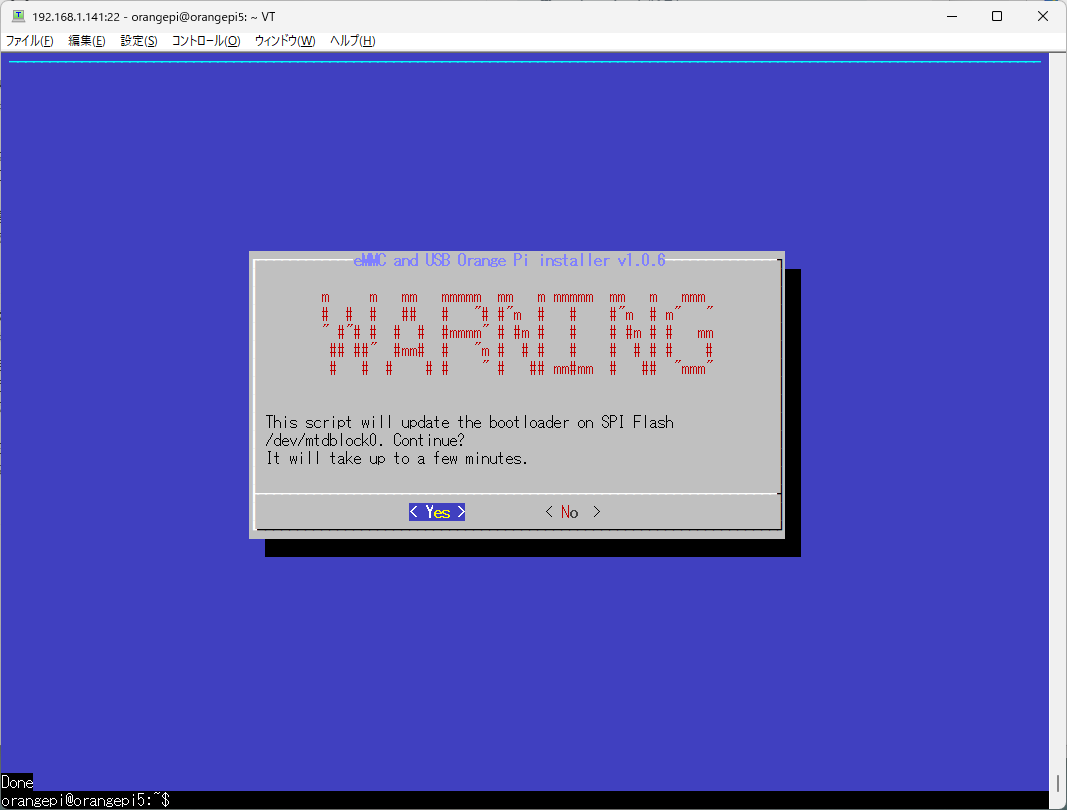
書き換え警告を[Yes]とします

YES選択後、数分間以下の状態で止まっていますが、正常です。

5分ぐらいすると下記の様になって終了します。
続いて、Orangepi5_1.0.6_ubuntu_jammy_desktop_xfce_linux5.10.110.img を /dev/nvme0n1 に対して書き込むため「sudo dd if=Orangepi5_1.0.6_ubuntu_jammy_desktop_xfce_linux5.10.110.img of=/dev/nvme0n1 status=progress」と実行します。
orangepi@orangepi5:~$ sudo dd if=Orangepi5_1.0.6_ubuntu_jammy_desktop_xfce_linux5.10.110.img of=/dev/nvme0n1 status=progress
6924734976 bytes (6.9 GB, 6.4 GiB) copied, 278 s, 24.9 MB/s
13533184+0 records in
13533184+0 records out
6928990208 bytes (6.9 GB, 6.5 GiB) copied, 279.176 s, 24.8 MB/s
orangepi@orangepi5:~$
現状のパーテーションを確認
orangepi@orangepi5:~$ sudo fdisk -l /dev/nvme0n1
GPT PMBR size mismatch (13533183 != 1000215215) will be corrected by write.
The backup GPT table is not on the end of the device.
Disk /dev/nvme0n1: 476.94 GiB, 512110190592 bytes, 1000215216 sectors
Disk model: NXM-512
Units: sectors of 1 * 512 = 512 bytes
Sector size (logical/physical): 512 bytes / 512 bytes
I/O size (minimum/optimal): 512 bytes / 512 bytes
Disklabel type: gpt
Disk identifier: 53AE4D8D-573C-E044-AB71-027F31F37494

Device          Start      End  Sectors  Size Type
/dev/nvme0n1p1  61440   585727   524288  256M Linux extended boot
/dev/nvme0n1p2 585728 13533150 12947423  6.2G Linux filesystem
orangepi@orangepi5:~$
この段階では実際のSSD容量にあわせたパーテーション構成になっていないのでmismatchと表示されている。
この段階では、microSD起動を一度停止して、microSDを抜いてから再度電源を入れます
NVMe SSDから起動していることを確認します。
orangepi@orangepi5:~$ df -h
Filesystem      Size  Used Avail Use% Mounted on
tmpfs           769M  9.4M  760M   2% /run
/dev/nvme0n1p2  465G  4.6G  456G   1% /
tmpfs           3.8G     0  3.8G   0% /dev/shm
tmpfs           5.0M  4.0K  5.0M   1% /run/lock
tmpfs           3.8G   12K  3.8G   1% /tmp
/dev/nvme0n1p1  256M   95M  162M  37% /boot
/dev/zram1      188M  2.6M  171M   2% /var/log
tmpfs           769M   80K  769M   1% /run/user/1000
orangepi@orangepi5:~$
問題が起きてたパーテーション構成は起動時に自動修正されています。
orangepi@orangepi5:~$ sudo fdisk -l /dev/nvme0n1
Disk /dev/nvme0n1: 476.94 GiB, 512110190592 bytes, 1000215216 sectors
Disk model: NXM-512
Units: sectors of 1 * 512 = 512 bytes
Sector size (logical/physical): 512 bytes / 512 bytes
I/O size (minimum/optimal): 512 bytes / 512 bytes
Disklabel type: gpt
Disk identifier: 53AE4D8D-573C-E044-AB71-027F31F37494

Device          Start       End   Sectors   Size Type
/dev/nvme0n1p1  61440    585727    524288   256M Linux extended boot
/dev/nvme0n1p2 585728 990183423 989597696 471.9G Linux filesystem
orangepi@orangepi5:~$
マニュアル記載にある「sudo fix_mmc_ssd.sh」はmicroSDも使う場合に実行するもので、NVMe SSDのみの場合は実行してみると以下のようなメッセージが出力されていました。
orangepi@orangepi5:~$ sudo fix_mmc_ssd.sh
ls: cannot access '/dev/mmcblk*': No such file or directory
Done
orangepi@orangepi5:~$
その上、NVMeから起動できなくなってしまうので必要無い限りはfix_mmc_ssd.shは実行しないように・・・
もしこの状態にしてしまった場合は、最初のNVMeへのインストール時に使ったmicroSDを入れるとシングルユーザモードで起動できます。
その状態で/etc/fstabにある/boot行を「/dev/nvme0n1p1 /boot vfat defaults 0 2」に書きかえて「mount -a」でマウント
その次に /boot/orangepiEnv.txt にあるroot=行を「rootdev=/dev/nvme0n1p2」に書き換えることで元の状態に戻ります。
あとは普通のUbuntu 22.04として利用できます。
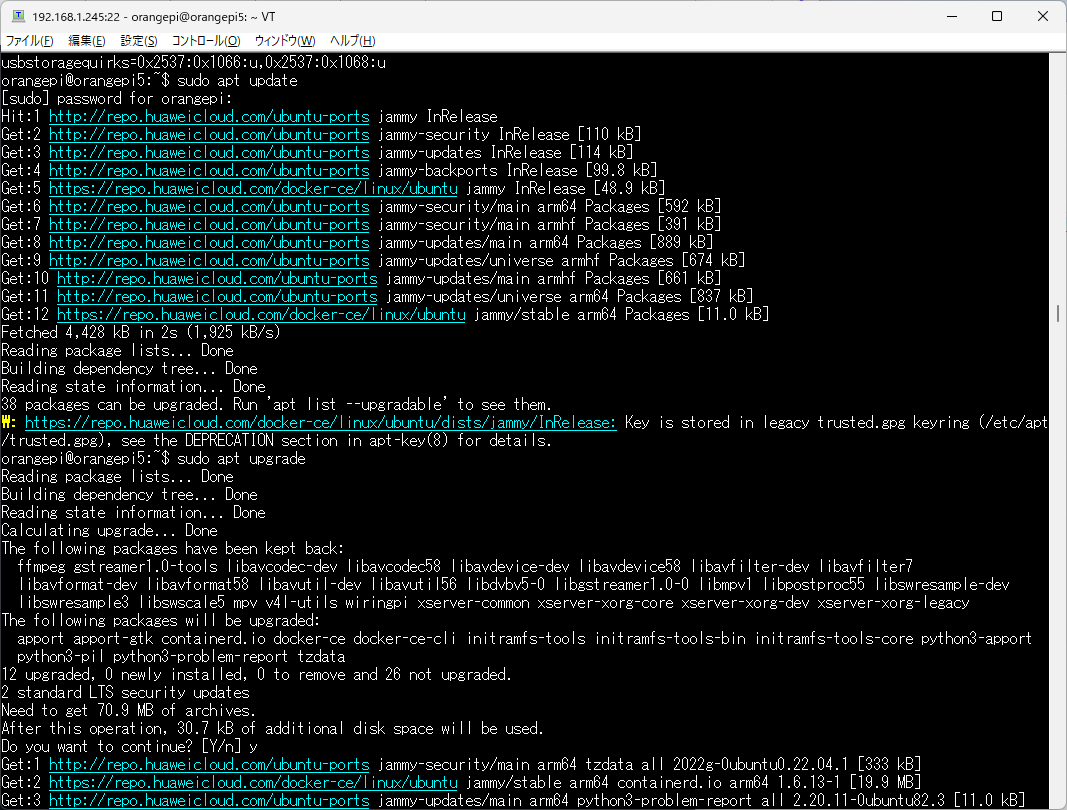
ちょっと興味深かったのは、https://repo.huaweicloud.com/ からファイルを持ってくる初期設定になってるんだなぁ、というところ
カスタマイズ
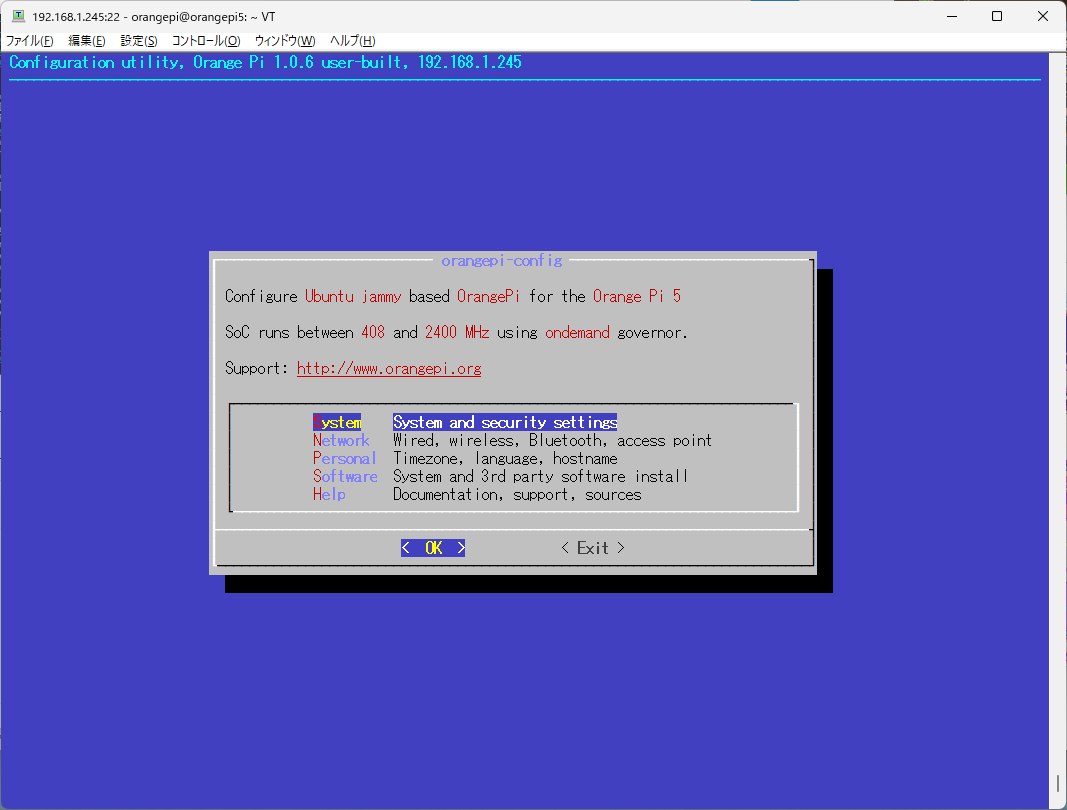
「sudo orangepi-config」を実行すると設定ユーティリティが起動します。
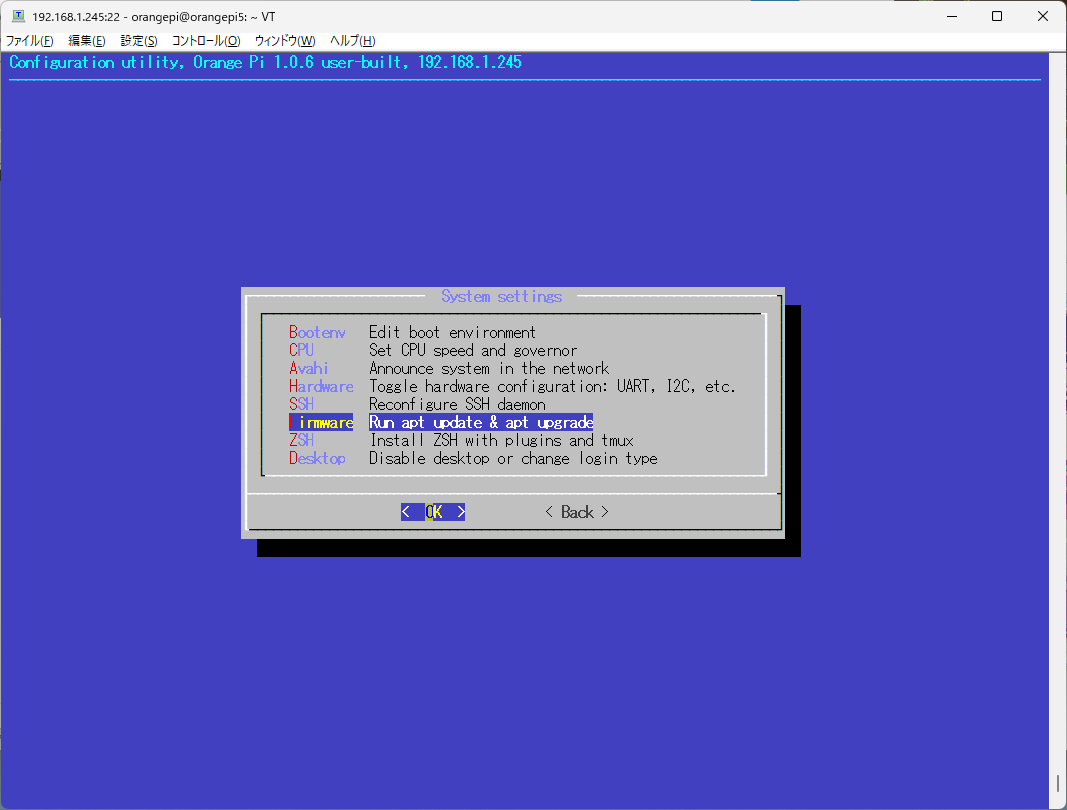
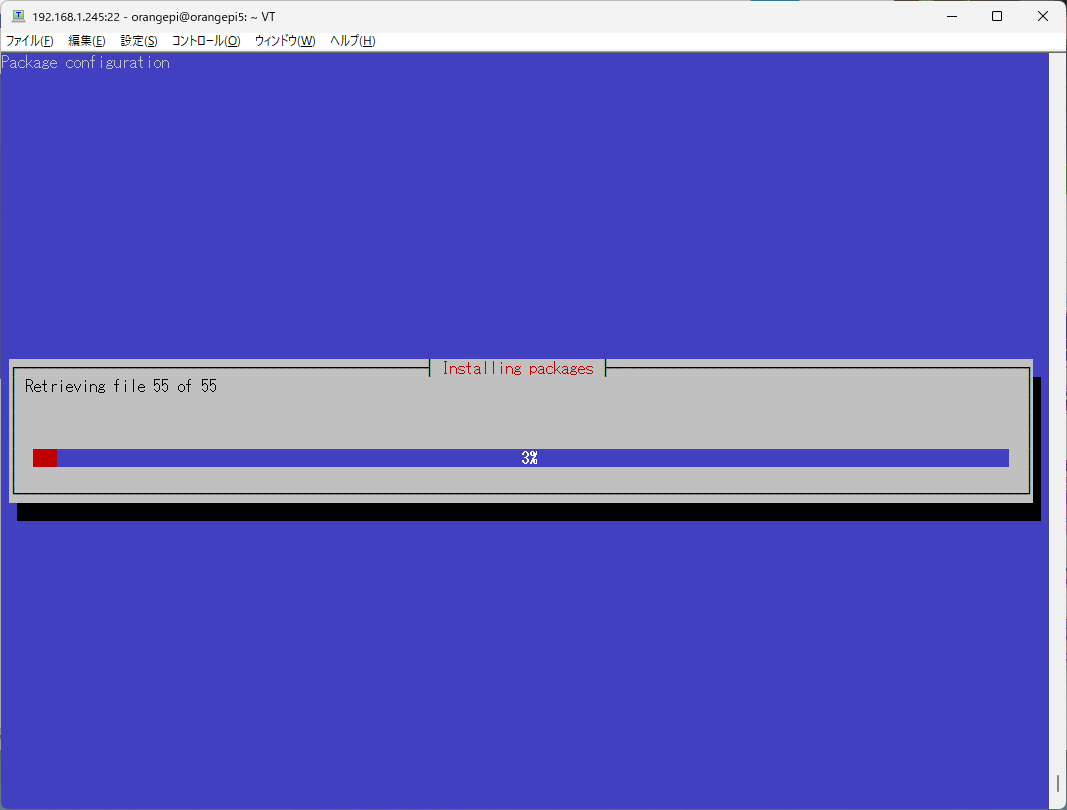
まずは[System]から[Firmware]を選択してFirmwareアップデートを実行します。
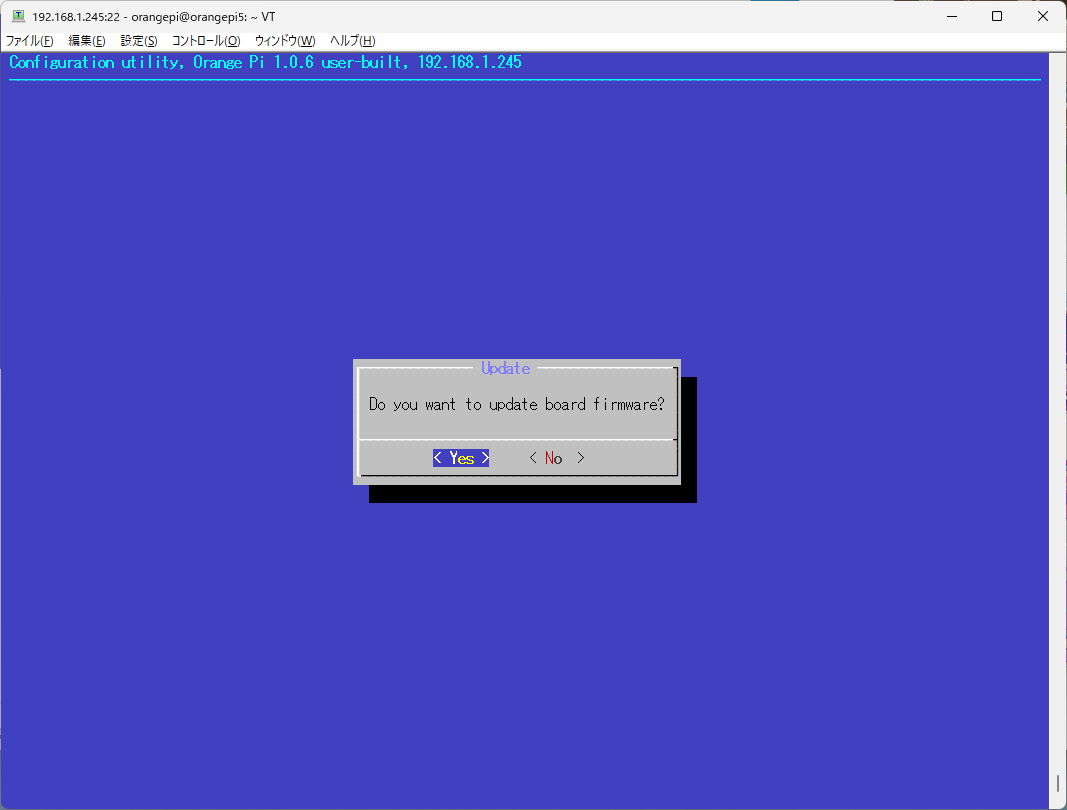
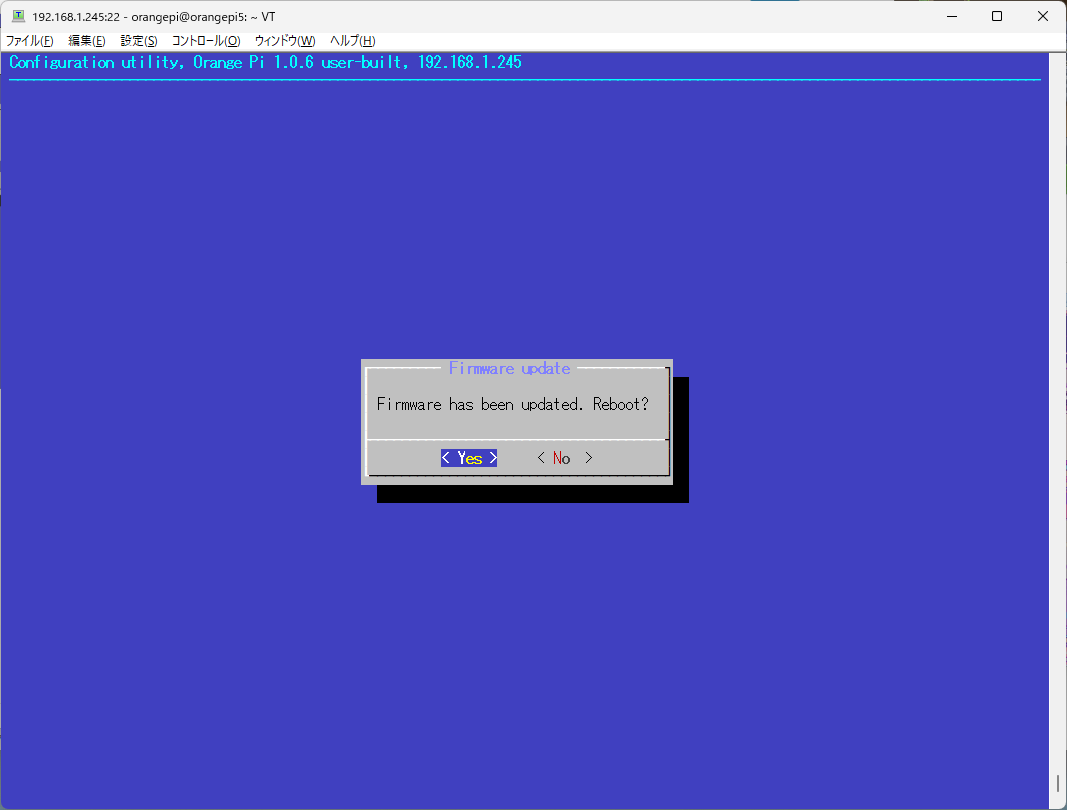
再起動します。
この他、[Personal]にある[Timezone]など、いろいろ設定がありますので、必要に応じ変更します。
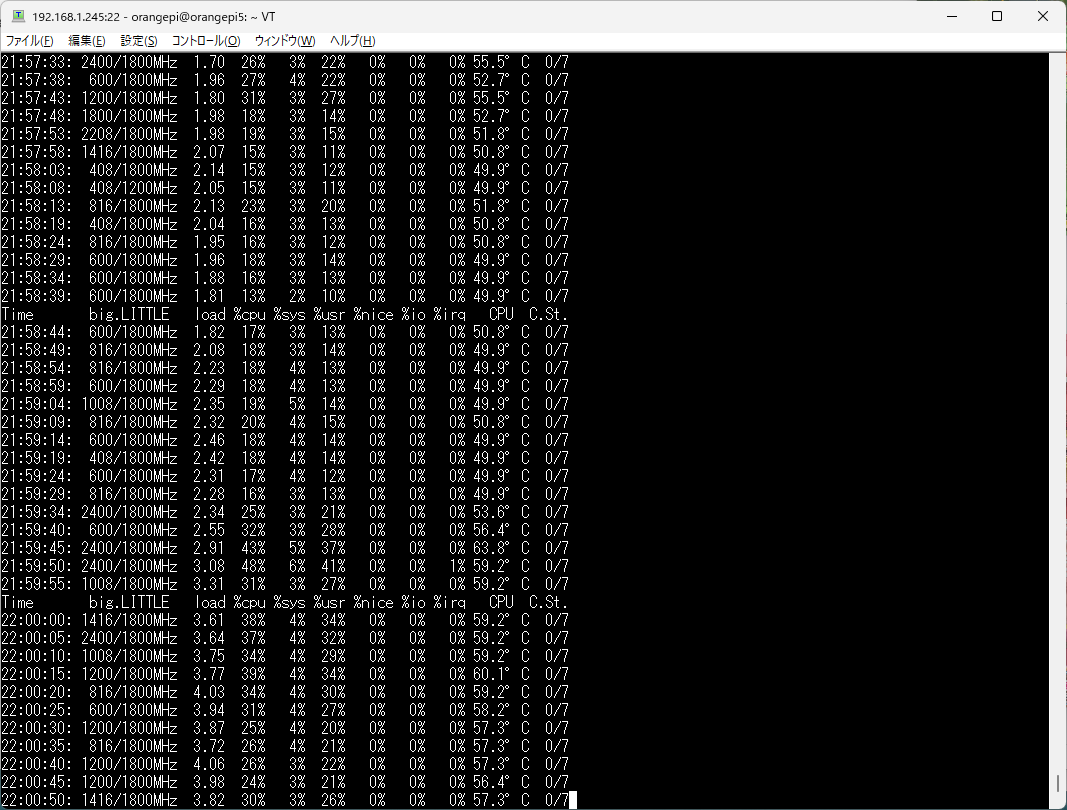
youtube(360p)再生中のCPU負荷
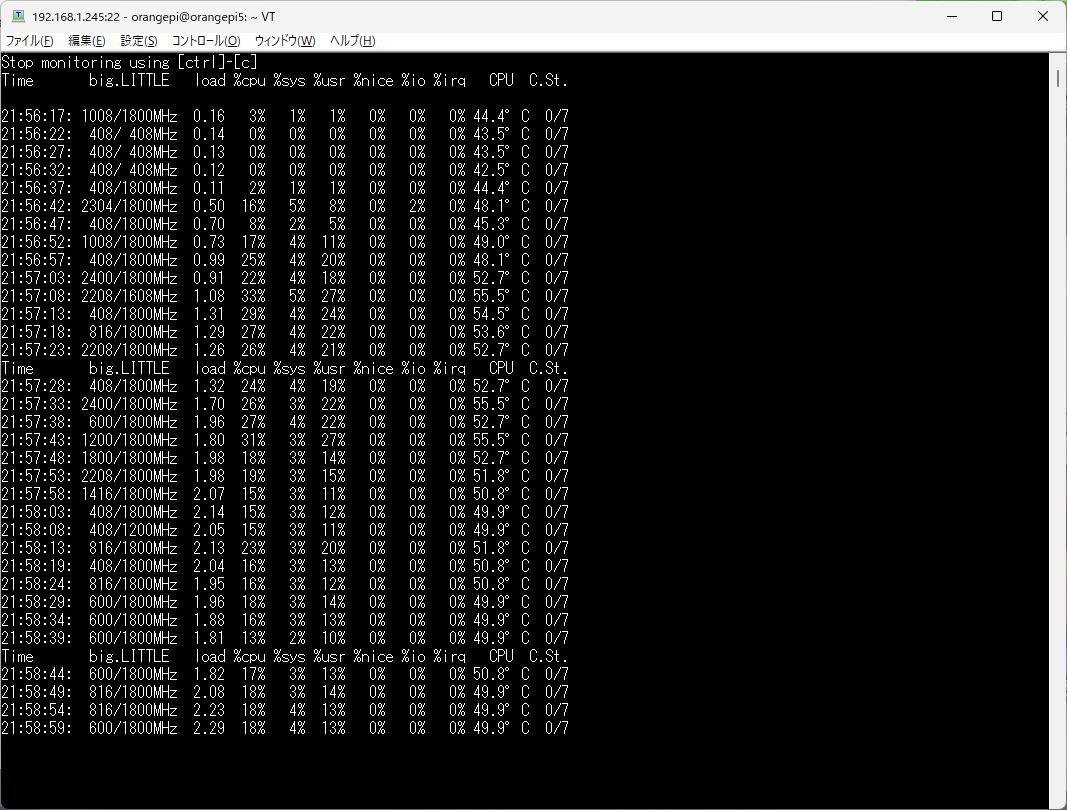
youtube(1080p)再生中のCPU負荷