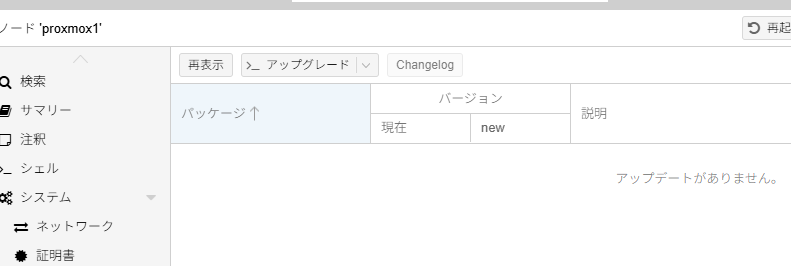
ESXi上にNutanix CE 2.1(AOS6.8.1)を新規インストールしてから、LCMでアップデートを実施したメモ書き
最終的には下記の状態となった
AHV hypervisor: el8.nutanix.20230302.101026 → 10.0.0.1 → 10.0.1.6 → 10.0.1.9 →× 10.3.1.5
AOS: 6.8.1 → 6.10.1.14 / 7.0.1.15 → 7.3.1.9
FSM: 5.0.0.1 → 5.3.0.1
Foundation 5.6.1 → 5.10.4
NCC 5.0.1 → 5.3.1.1
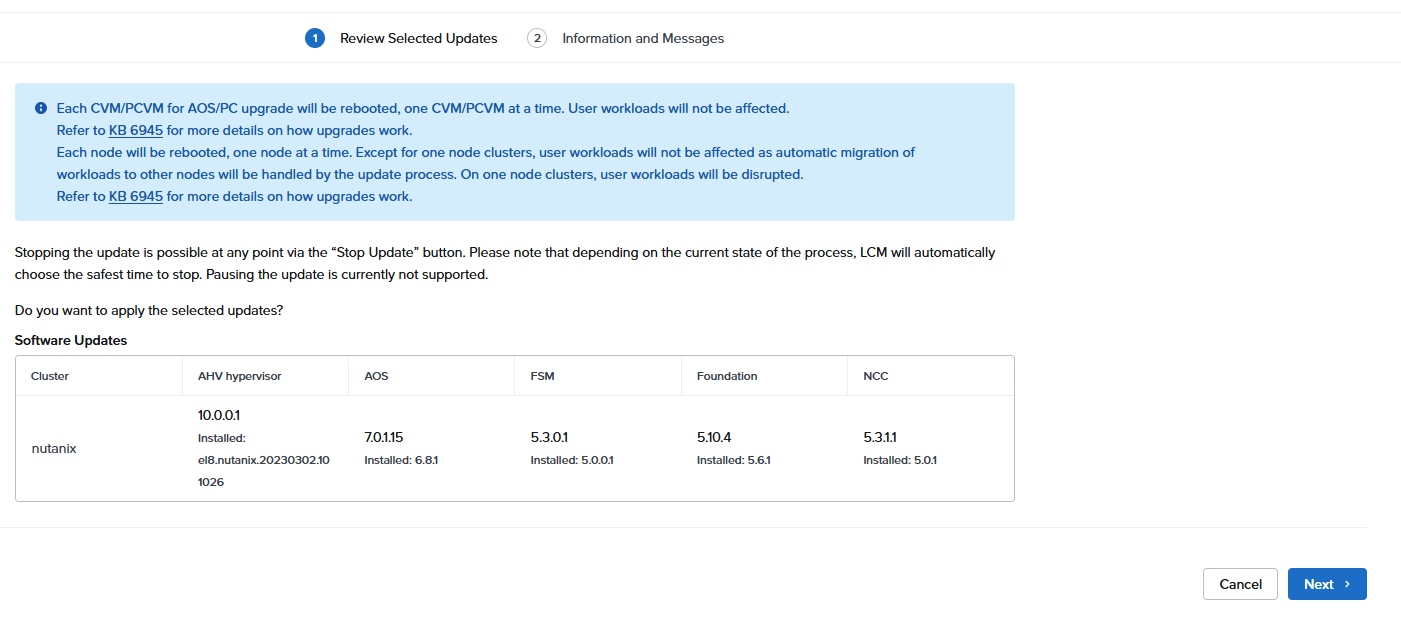
アップデートはLCMで[Inverntory]を実施した後、[Updates]から操作する
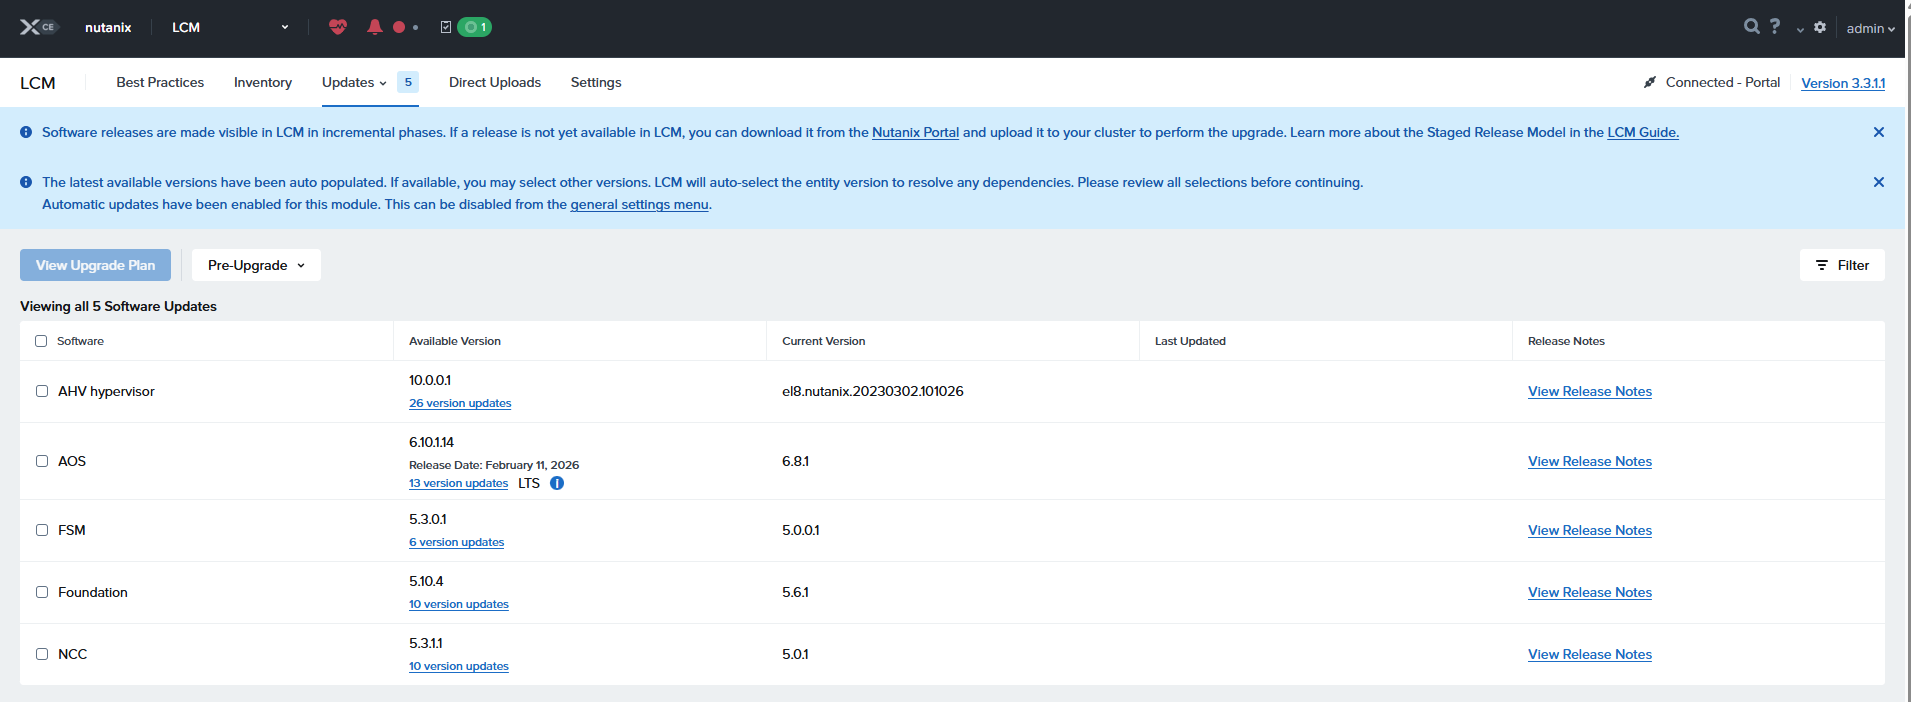
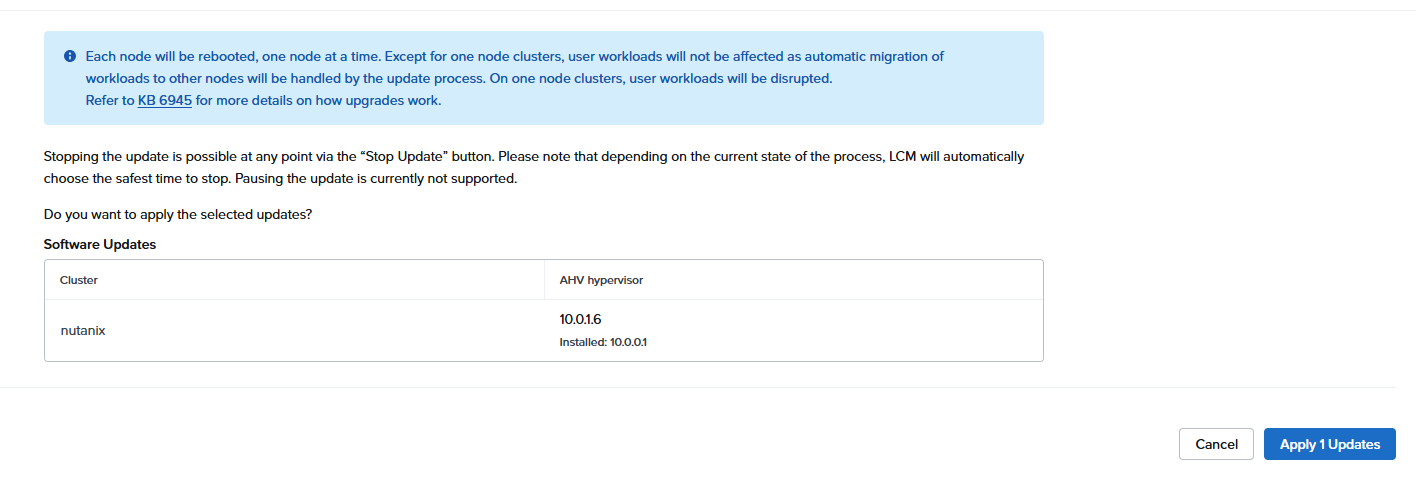
この段階でのバージョン変移予定
AHV hypervisor: el8.nutanix.20230302.101026 → 10.0.0.1
AOS: 6.8.1 → 6.10.1.14
FSM: 5.0.0.1 → 5.3.0.1
Foundation 5.6.1 → 5.10.4
NCC 5.0.1 → 5.3.1.1
Nutanix CEではAHVを10.3以上にあげると死ぬ、という話があるけど
Nutanix Community「Do Not Upgrade CE to AHV 10.3 and Higher」
今回は「AHV hypervisor 10.0.0.1」となっているので、とりあえずは問題はないようだ
ただ、10.0.0.1以降のバージョンもあるけど、なんで10.0.0.1が選択されているんだろう?
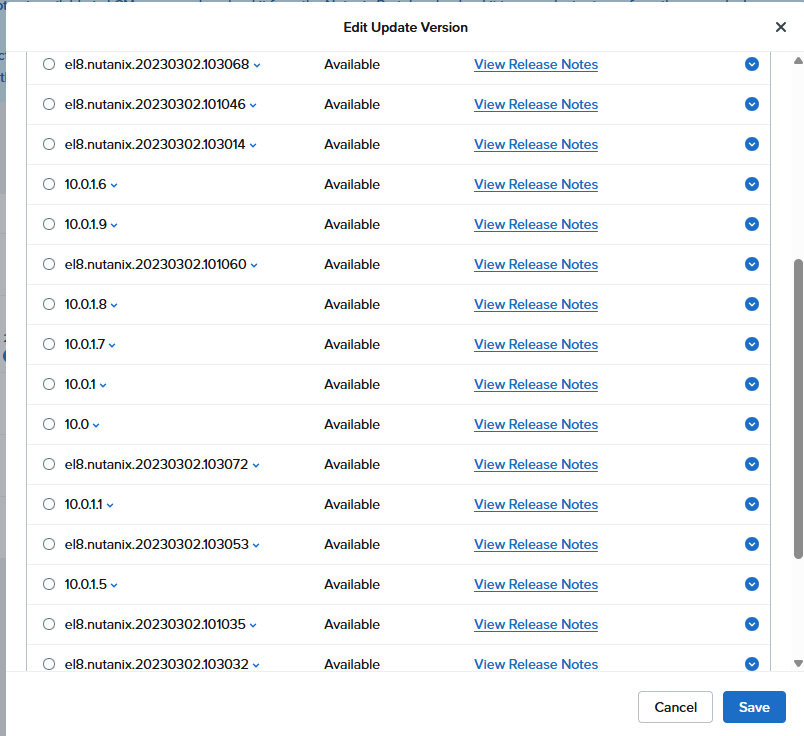
とりあえず全部にチェックを入れて進めてみる
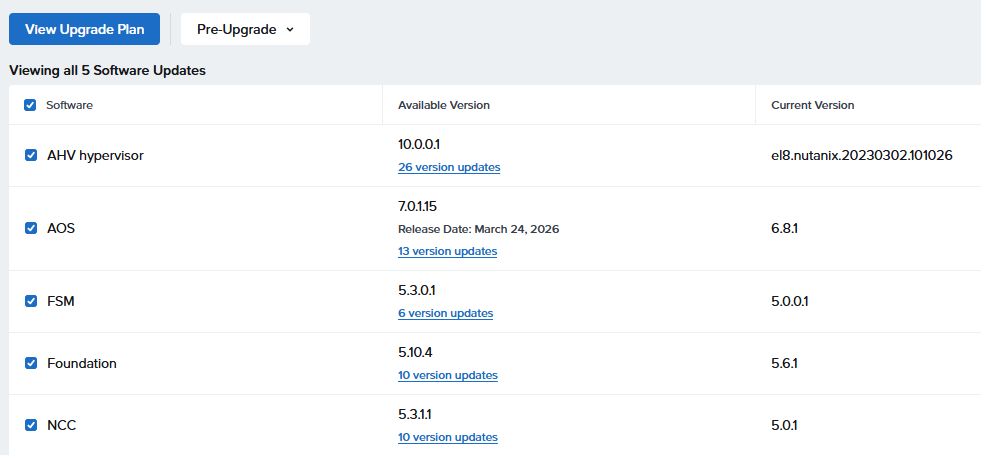
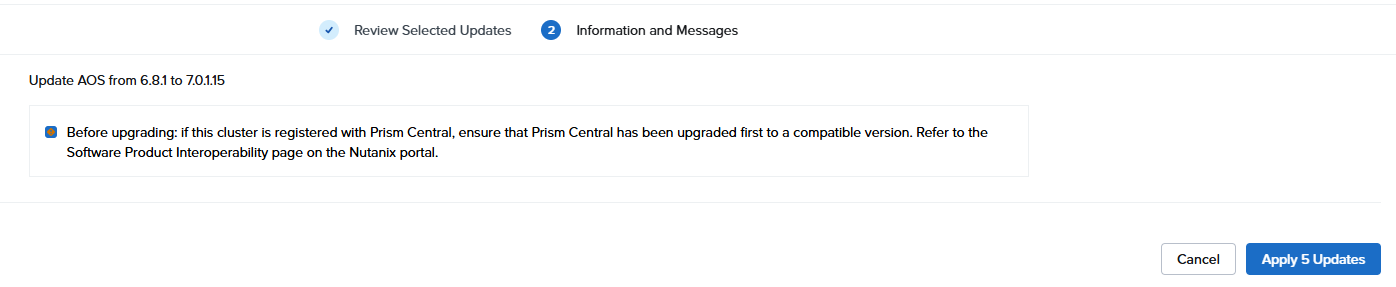
あれ?AOSのバージョンが「6.0.1.14」から「7.0.1.15」に書き換わってる??
この段階でのバージョン変移予定
AHV hypervisor: el8.nutanix.20230302.101026 → 10.0.0.1
AOS: 6.8.1 → 6.10.1.14 / 7.0.1.15
FSM: 5.0.0.1 → 5.3.0.1
Foundation 5.6.1 → 5.10.4
NCC 5.0.1 → 5.3.1.1
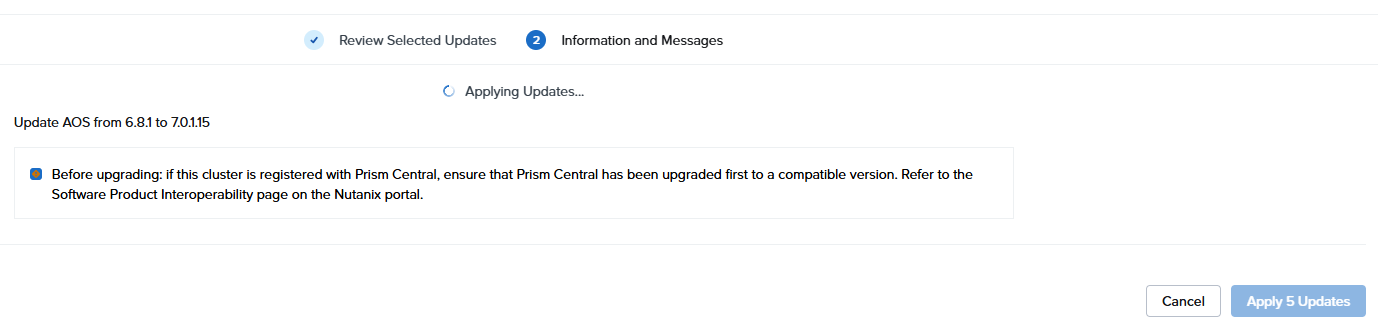
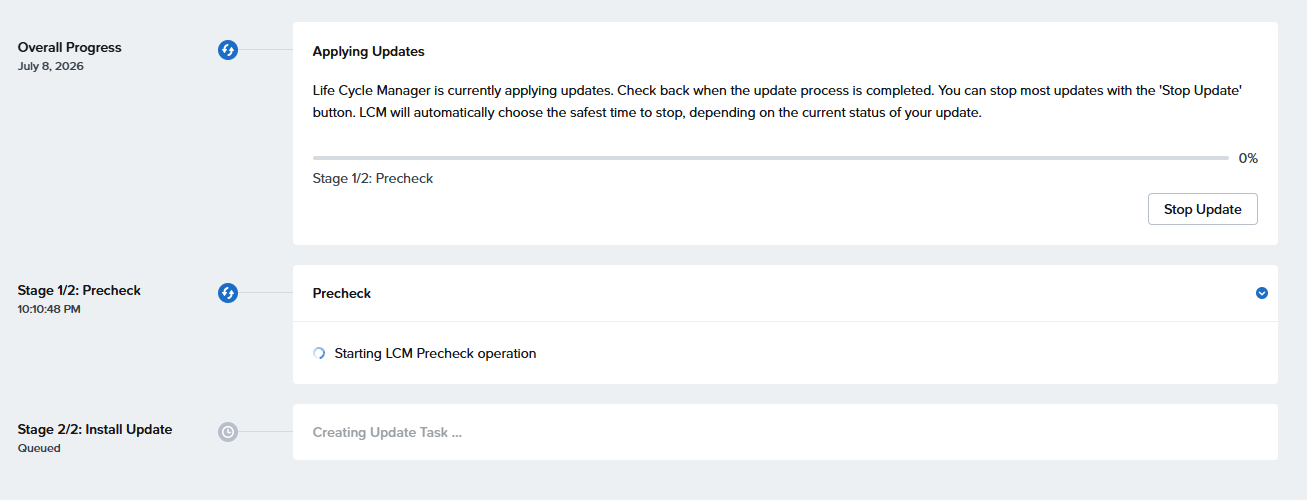
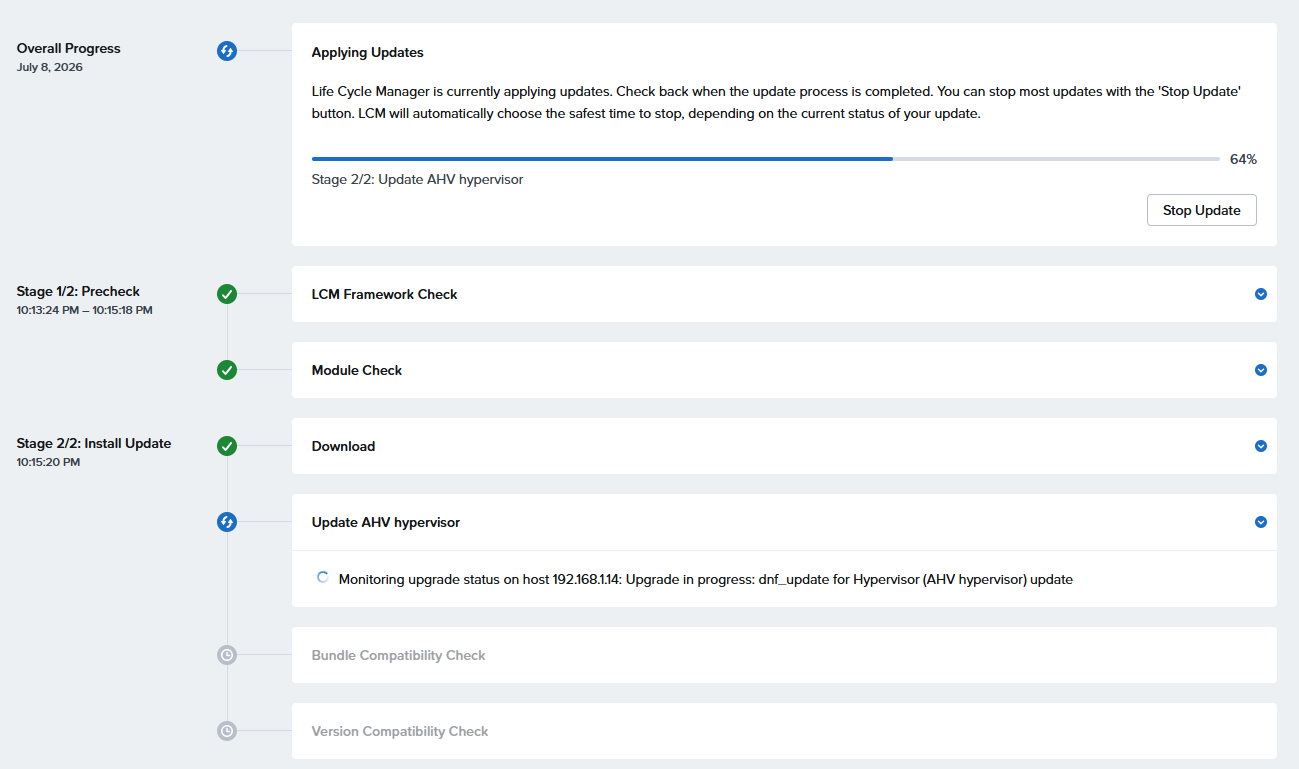
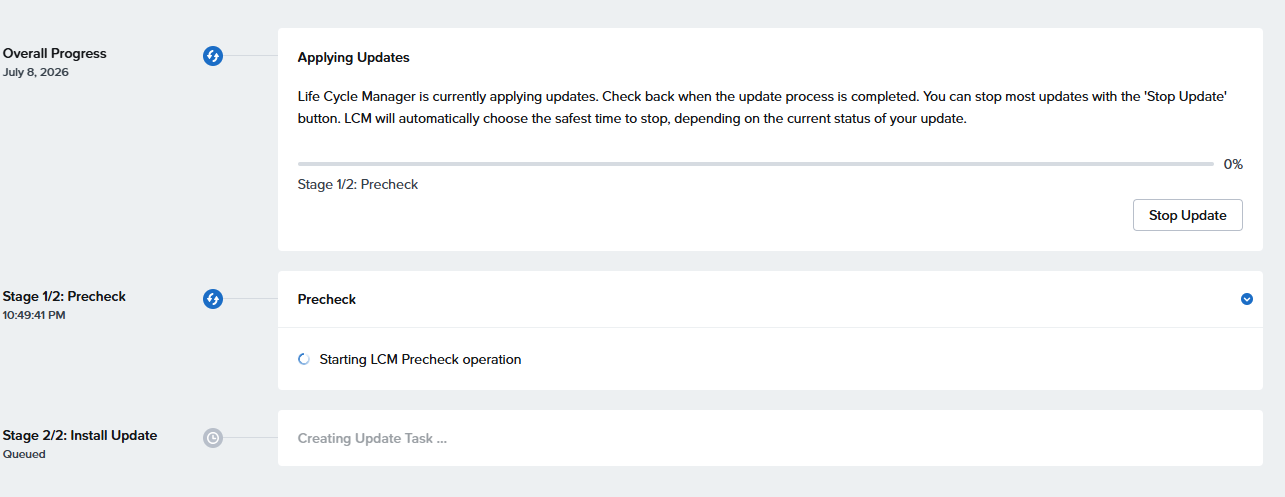
実行中・・・
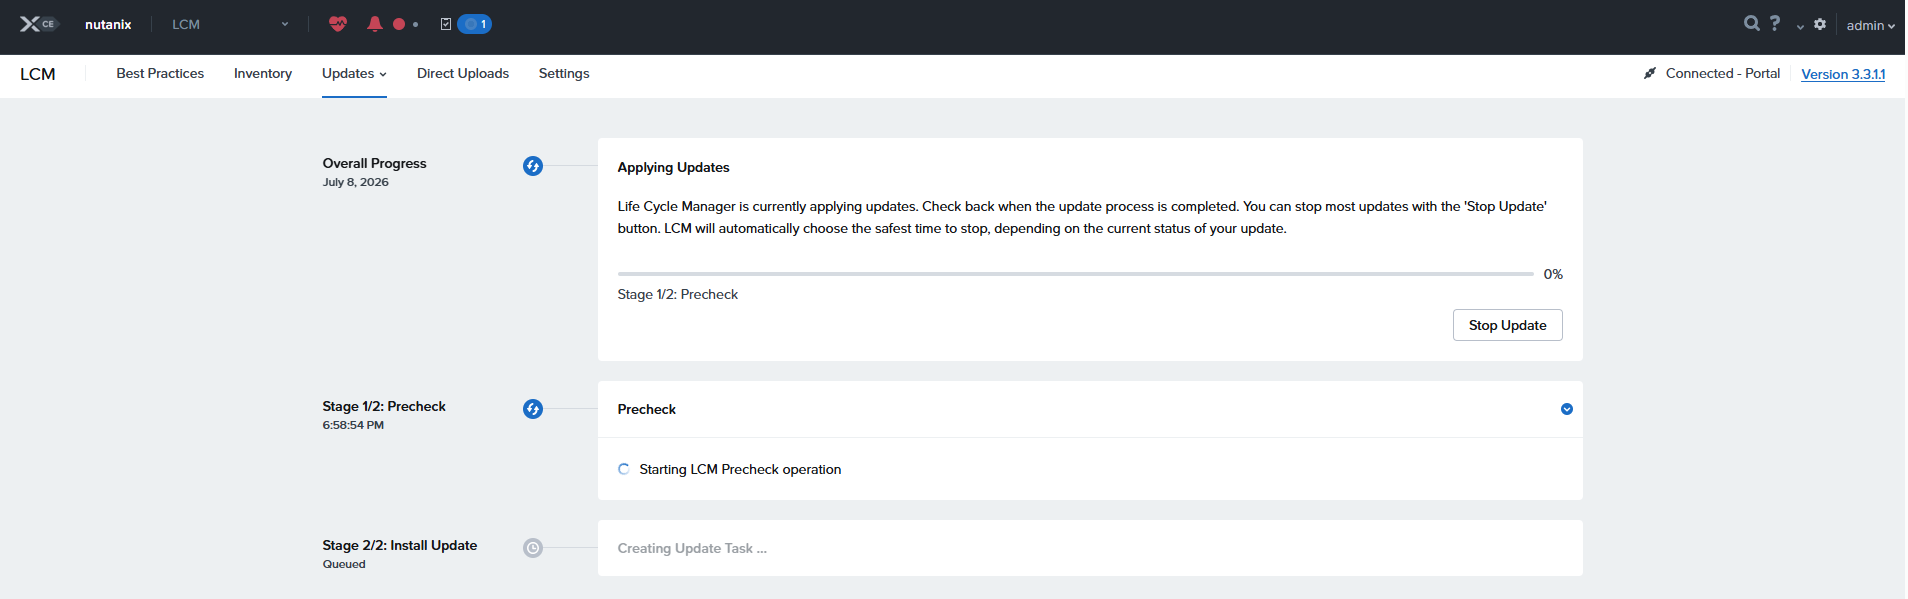
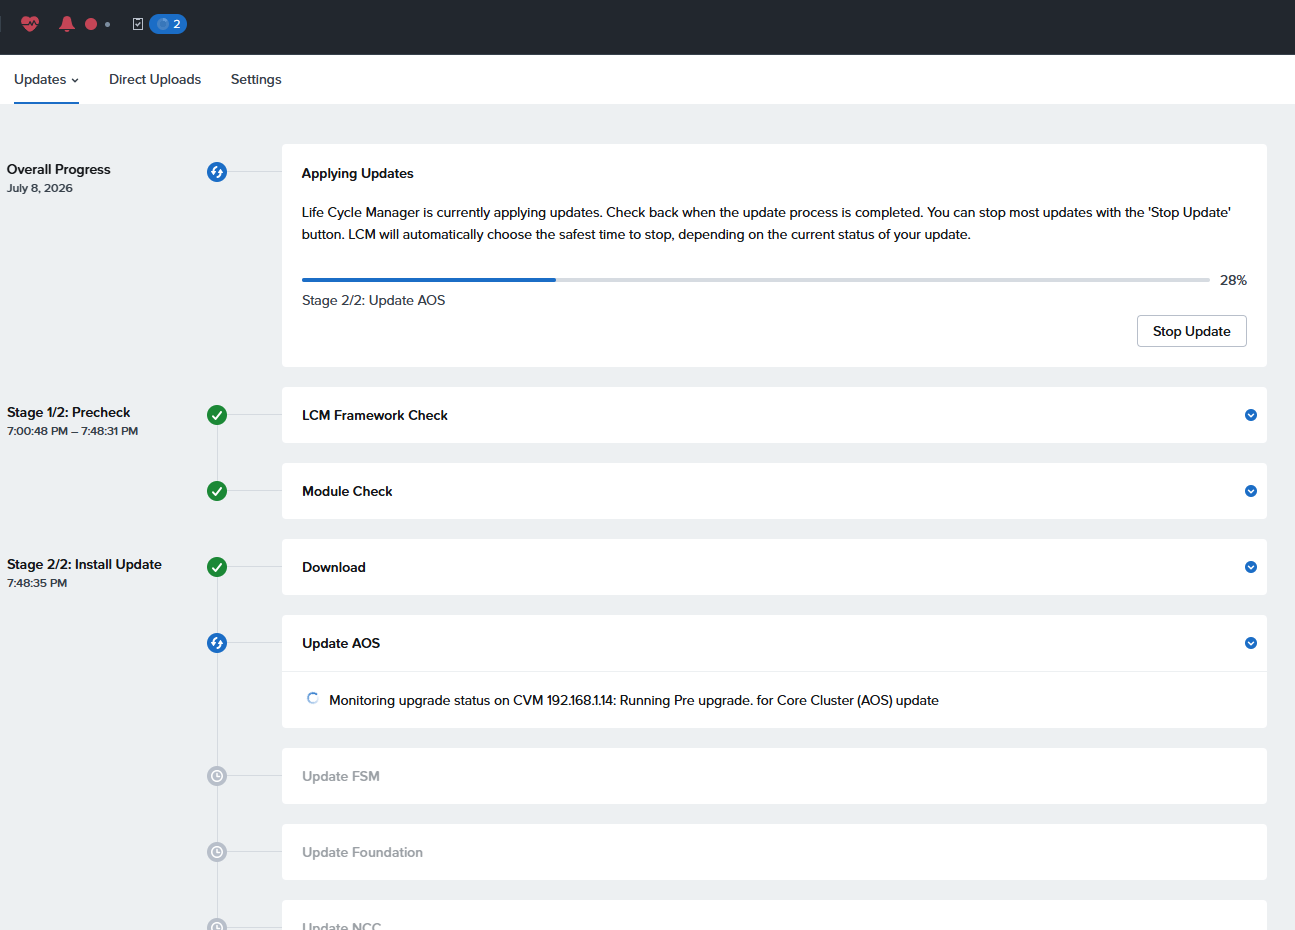
おそらくCVM再起動で再ログイン後
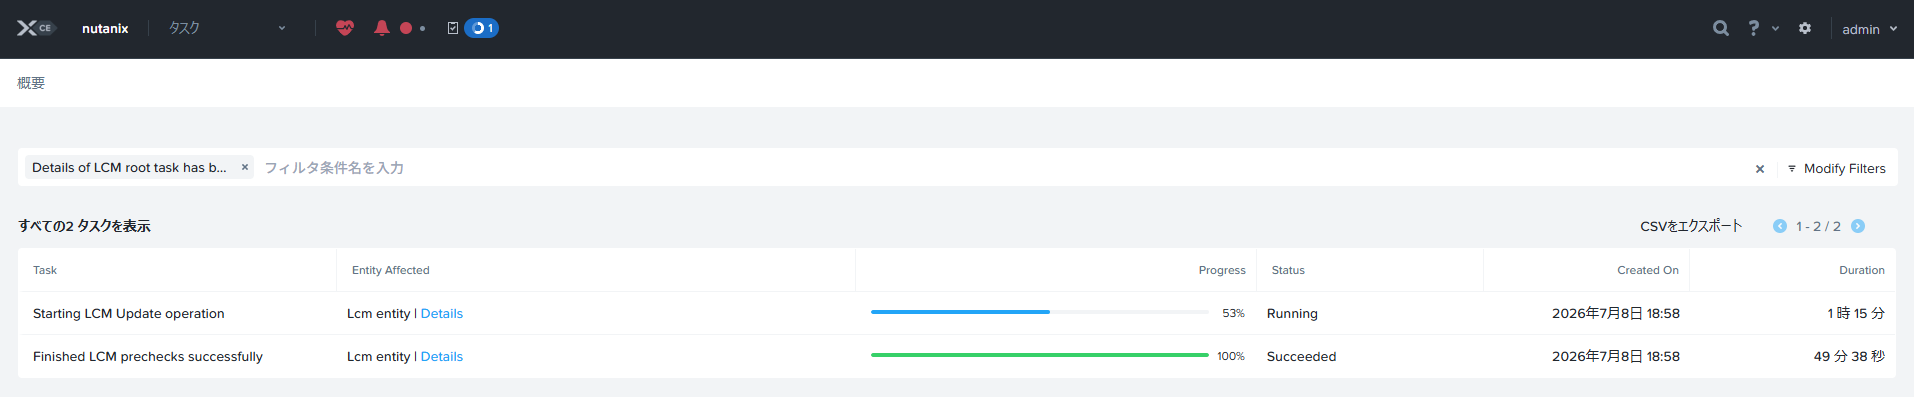
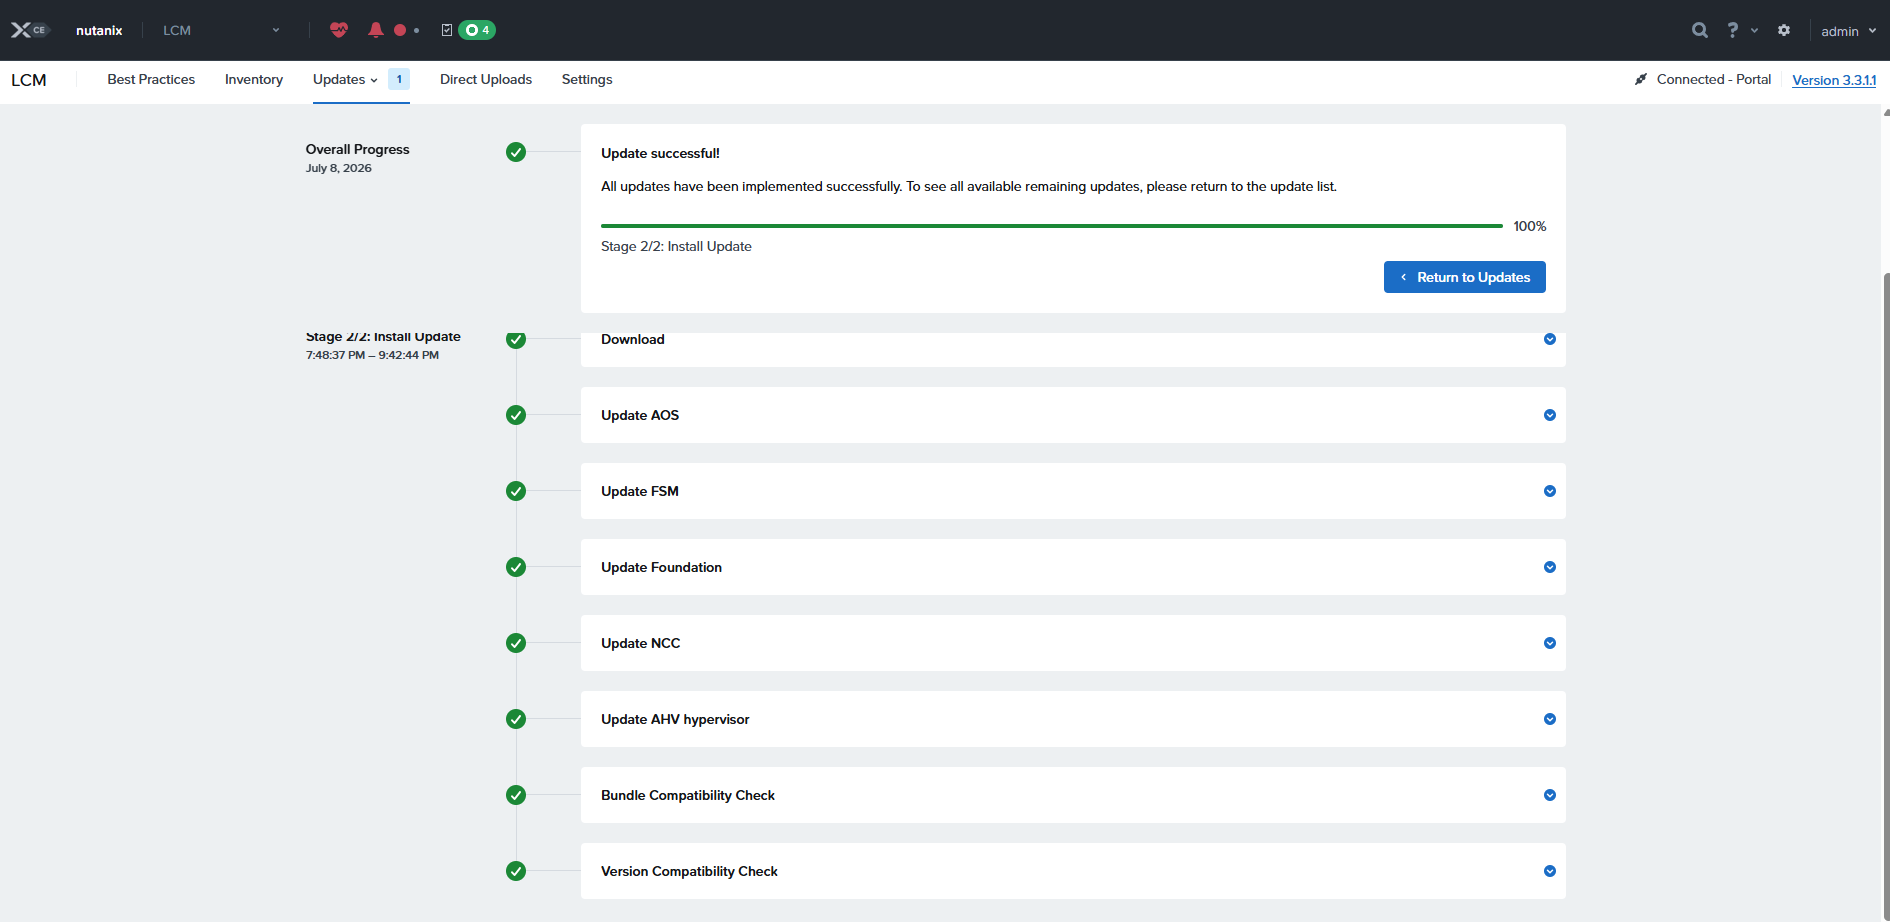
えーと、18:58開始で、終わったの21:30すぎのはずなんですが2時間ぐらいで終わったことになってるのなぜ??

で、LCMに戻るとAHV Hypervisor 10.0.1.6へのアップデートが登場
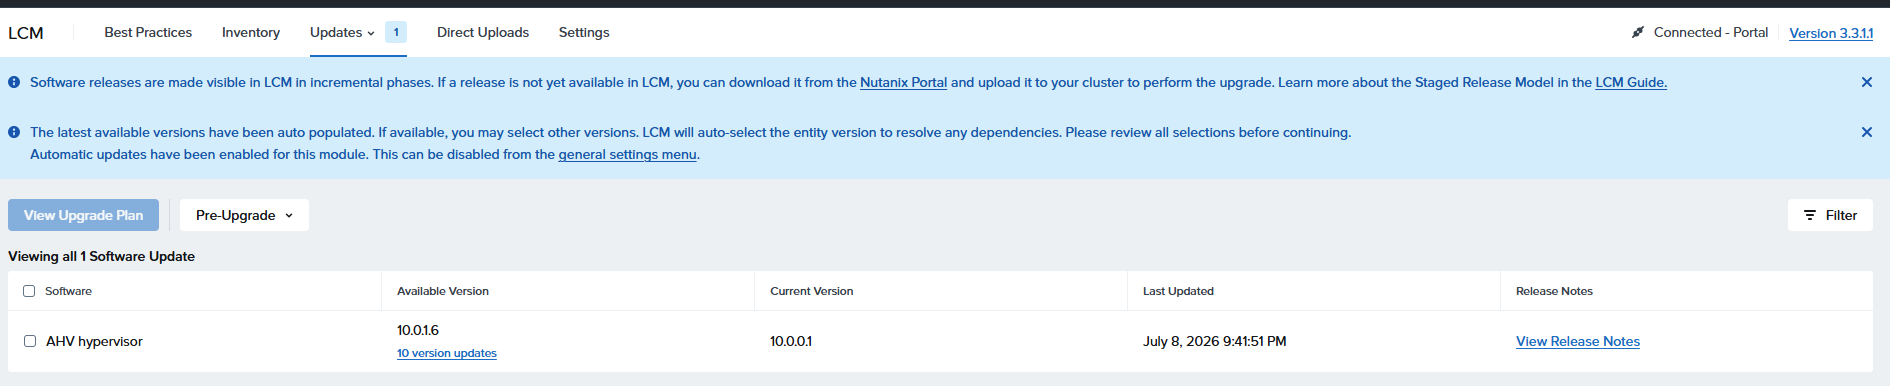
この段階でのバージョン変移予定
AHV hypervisor: el8.nutanix.20230302.101026 → 10.0.0.1 → 10.0.1.6
AOS: 6.8.1 → 6.10.1.14 / 7.0.1.15
FSM: 5.0.0.1 → 5.3.0.1
Foundation 5.6.1 → 5.10.4
NCC 5.0.1 → 5.3.1.1
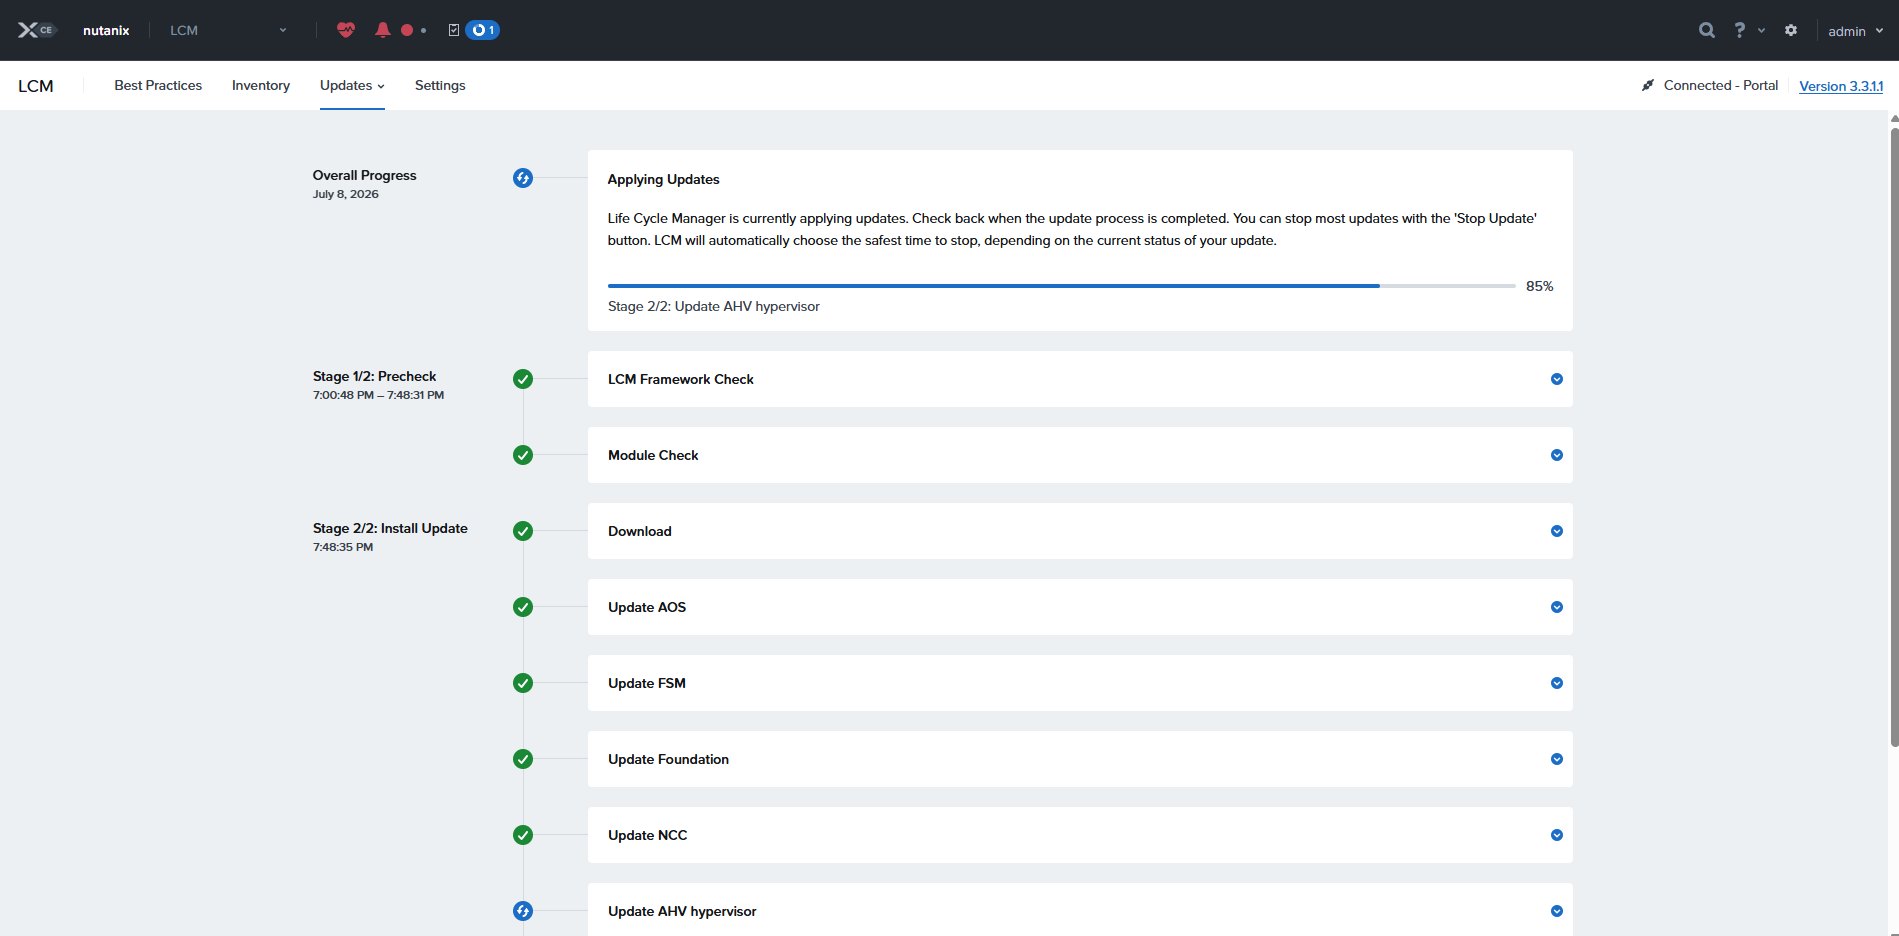
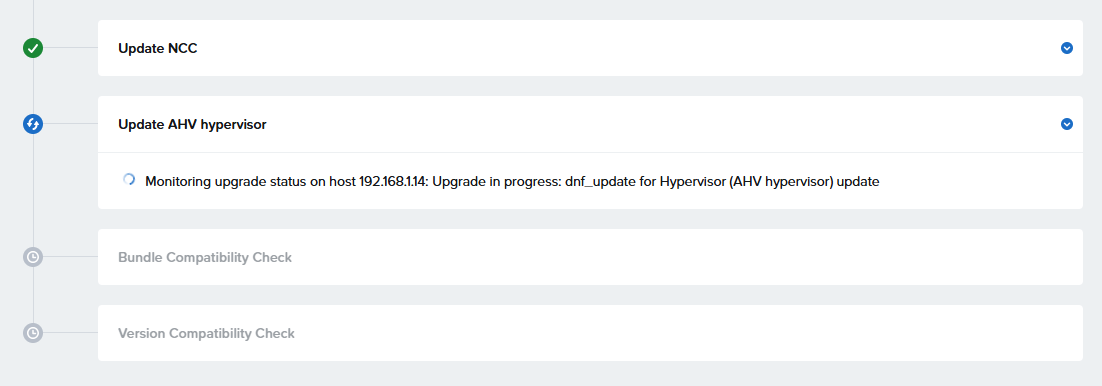
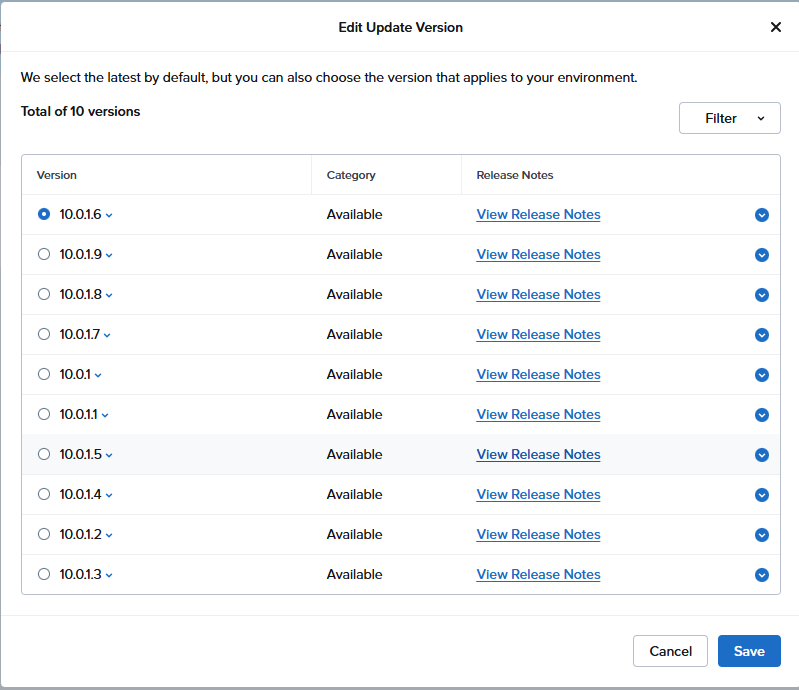
よりあたらしい10.0.1.9があるのに、10.0.1.6か、と思いつつアップデート
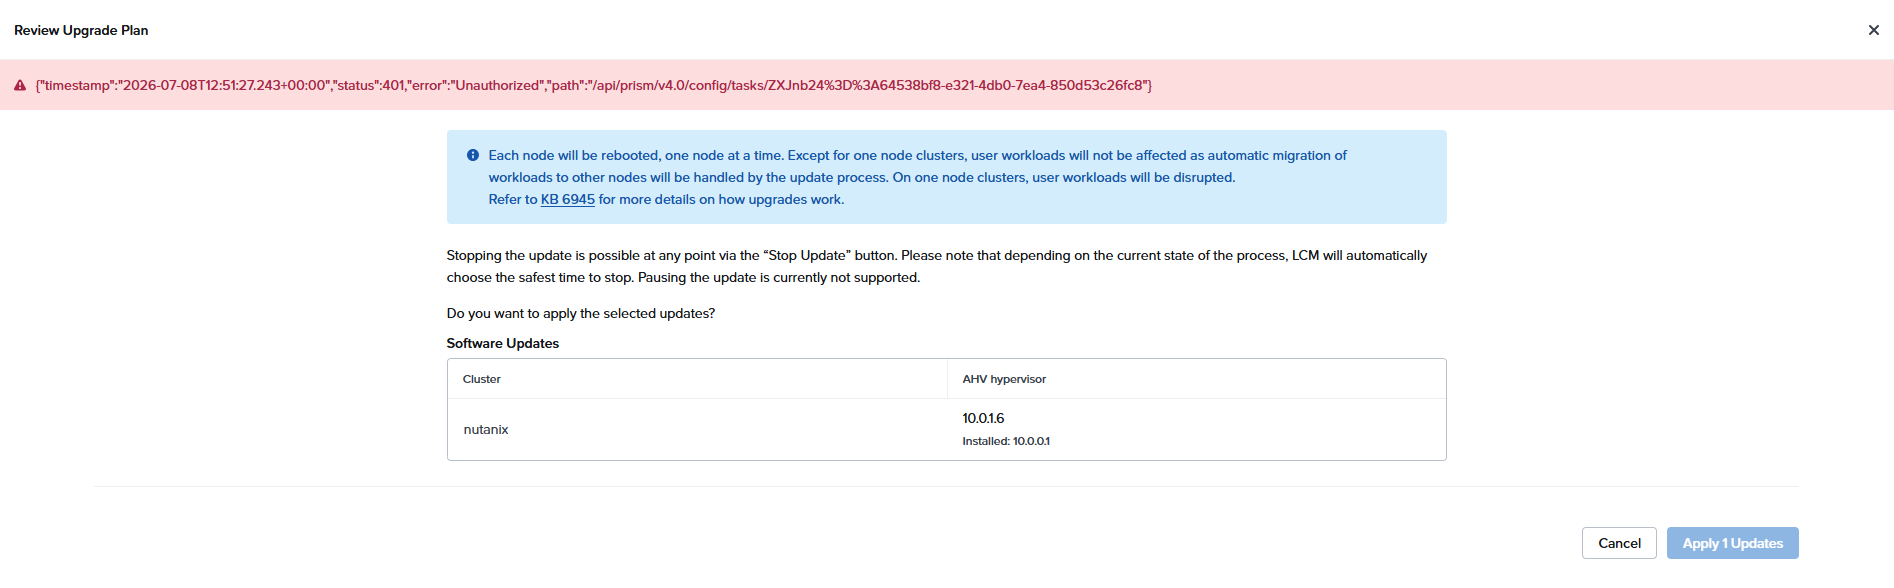
エラー発生 KB6945 を見ろとある
とりあえず再起動して再挑戦すると、先に進める
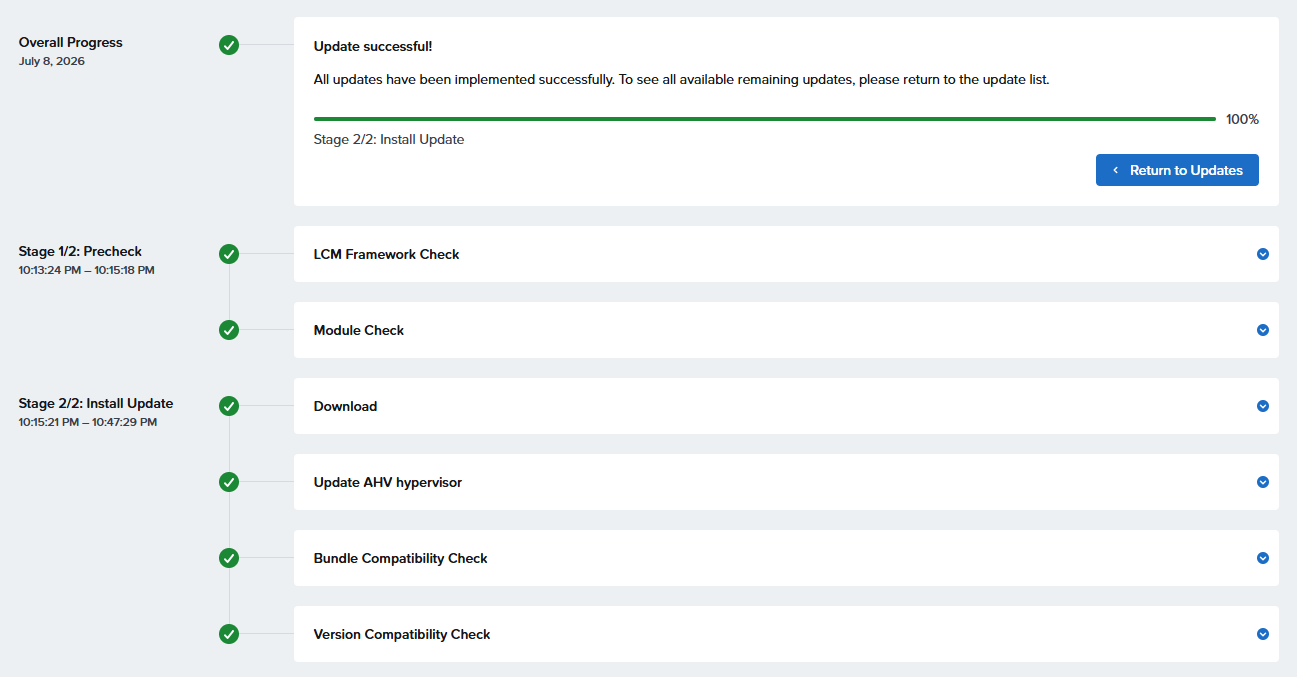
約30分で終了
次のアップデートは10.0.1.9

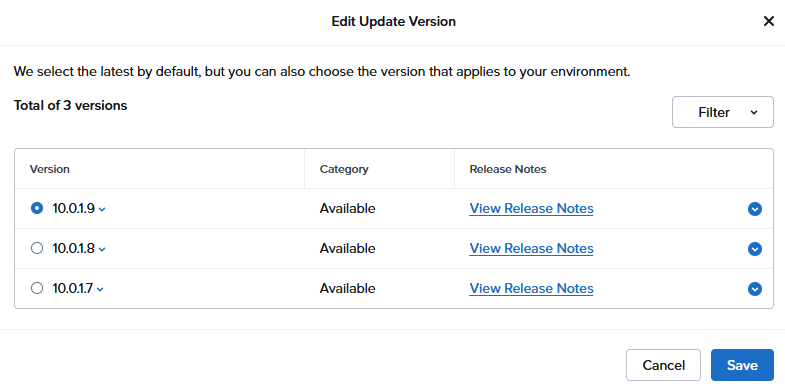
この段階でのバージョン変移予定
AHV hypervisor: el8.nutanix.20230302.101026 → 10.0.0.1 → 10.0.1.6 → 10.0.1.9
AOS: 6.8.1 → 6.10.1.14 / 7.0.1.15
FSM: 5.0.0.1 → 5.3.0.1
Foundation 5.6.1 → 5.10.4
NCC 5.0.1 → 5.3.1.1

とりあえずUpdateなしに?


もう1回Inventoryを実行してみたところアップデート登場
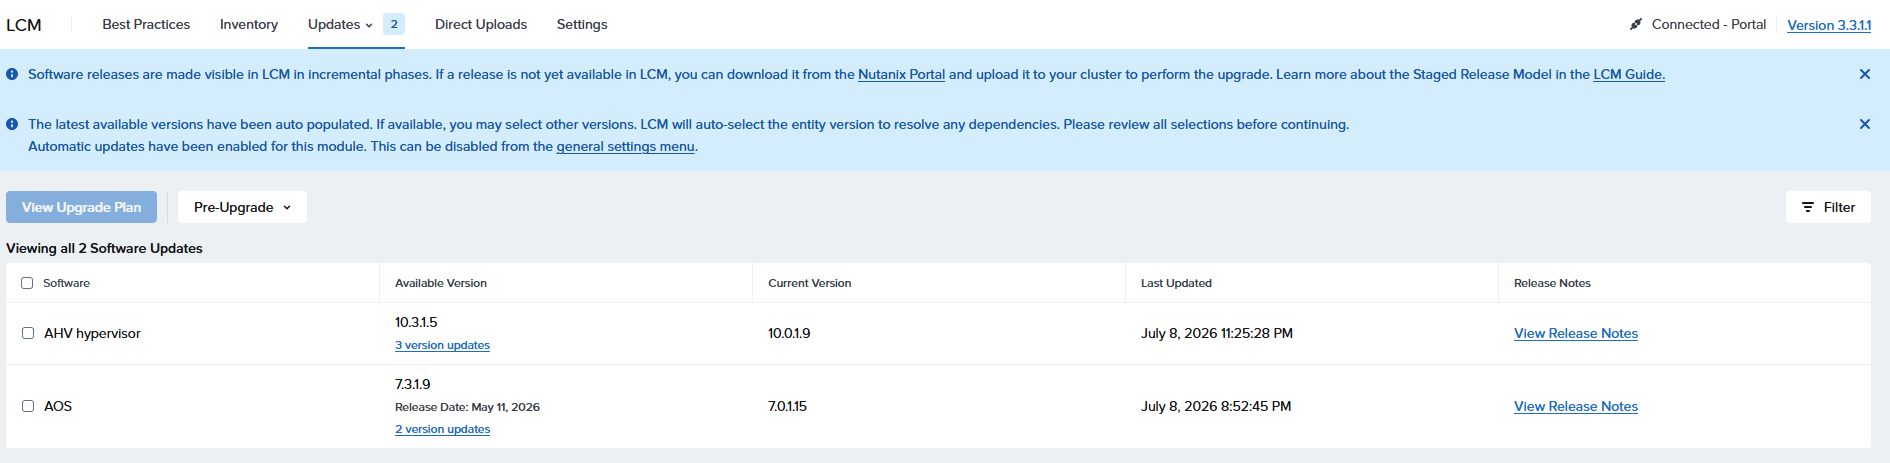
出たな!!問題児 10.3.x代の 10.3.1.5
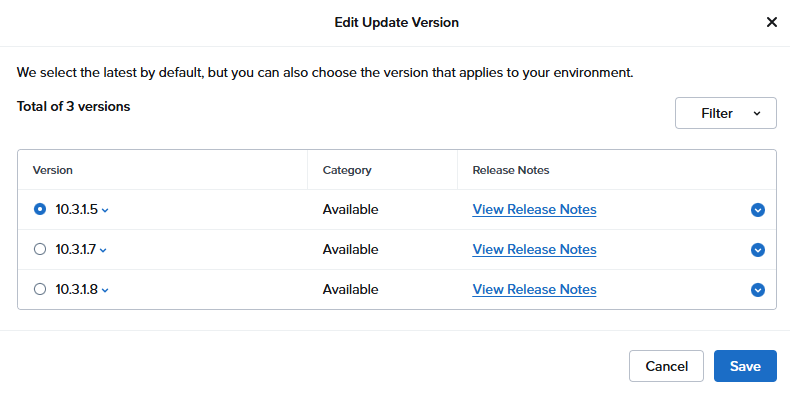
10.0.1.9から 10.3.1.5の間のバージョンにすることはできない、と
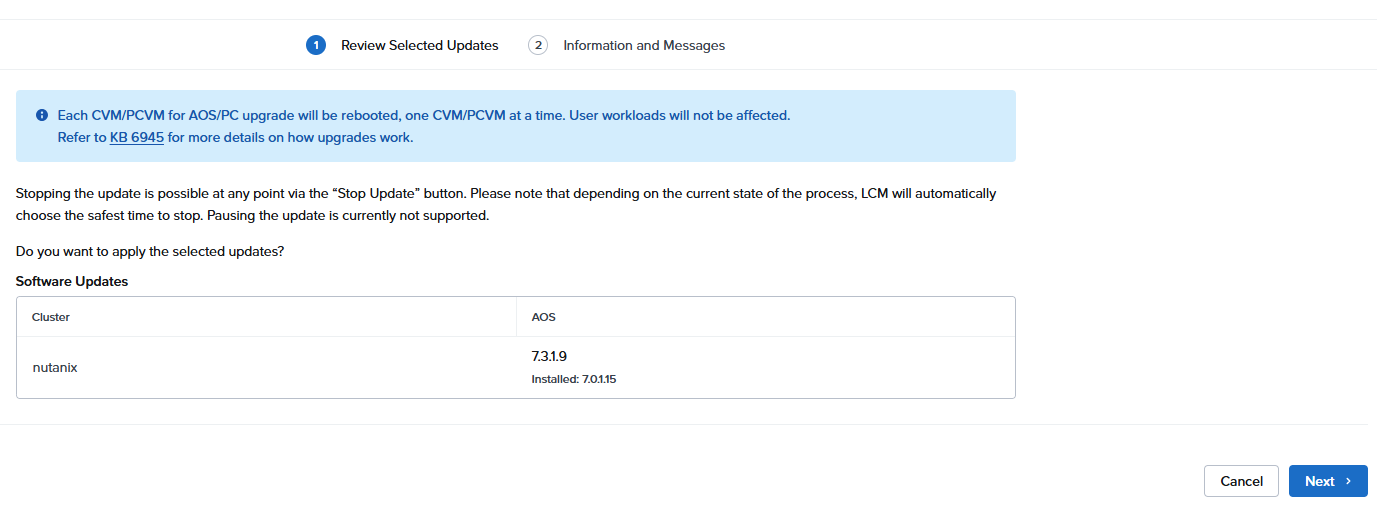
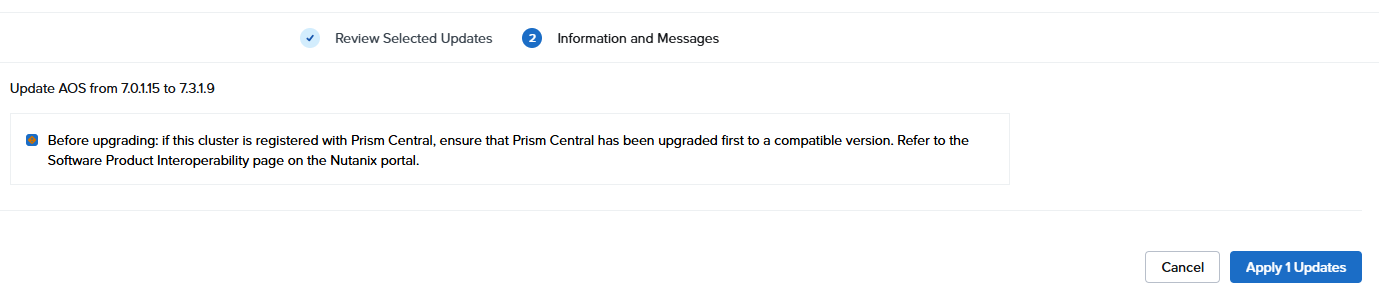
AOSの方はバージョンアップしても問題ないらしいので、7.0.1.15→7.3.1.9へのアップデートを試みる
この段階でのバージョン変移予定
AHV hypervisor: el8.nutanix.20230302.101026 → 10.0.0.1 → 10.0.1.6 → 10.0.1.9 →× 10.3.1.5
AOS: 6.8.1 → 6.10.1.14 / 7.0.1.15 → 7.3.1.9
FSM: 5.0.0.1 → 5.3.0.1
Foundation 5.6.1 → 5.10.4
NCC 5.0.1 → 5.3.1.1
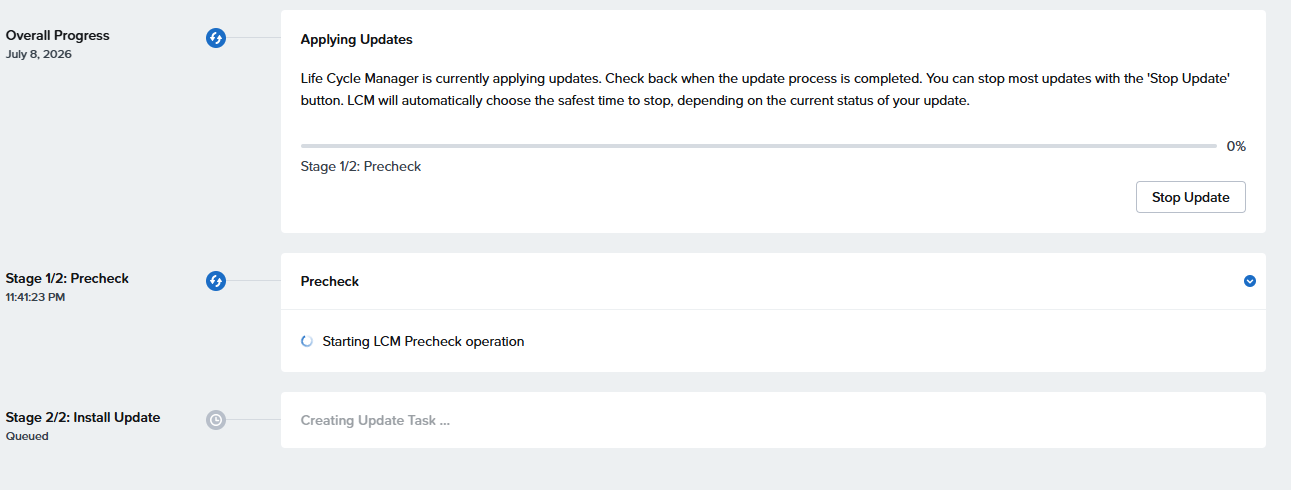
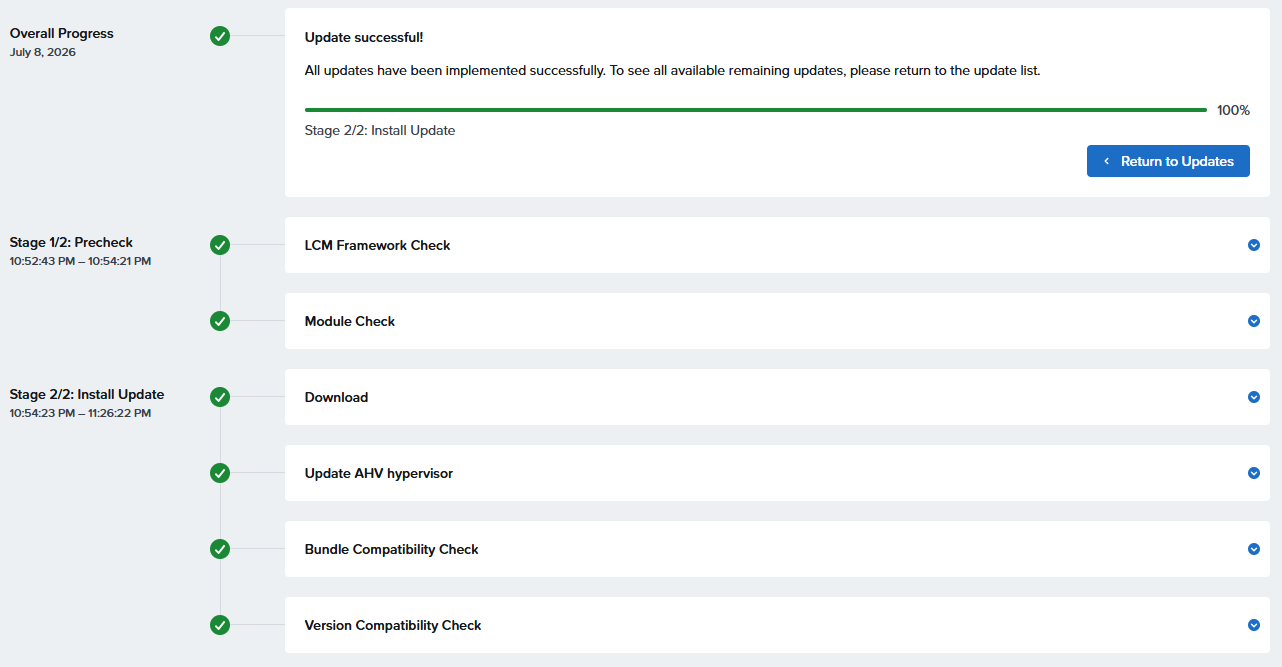
アップデート完了


現状
AHV hypervisor: el8.nutanix.20230302.101026 → 10.0.0.1 → 10.0.1.6 → 10.0.1.9 →× 10.3.1.5
AOS: 6.8.1 → 6.10.1.14 / 7.0.1.15 → 7.3.1.9
FSM: 5.0.0.1 → 5.3.0.1
Foundation 5.6.1 → 5.10.4
NCC 5.0.1 → 5.3.1.1
2026/07/10 追記
実験してたら壊してしまったので再セットアップを行って、初回のバージョンアップが終わったところなんですがAHV hypervisorのバージョンに異変が・・・


AHV Hypervisor el8.nutanix.20230302.101026 → el8.nutanix.20230302.103053
AOS: 6.8.1 → 6.10.1.14
FSM: 5.0.0.1 → 5.3.0.1
Foundation 5.6.1 → 5.10.4
NCC 5.0.1 → 5.3.1.1


AHV Hypervisor el8.nutanix.20230302.101026 → el8.nutanix.20230302.103053 → el8.nutanix.20230302.103087
AOS: 6.8.1 → 6.10.1.14 → 7.0.1.15
FSM: 5.0.0.1 → 5.3.0.1
Foundation 5.6.1 → 5.10.4
NCC 5.0.1 → 5.3.1.1


AHV Hypervisor el8.nutanix.20230302.101026 → el8.nutanix.20230302.103053 → el8.nutanix.20230302.103087 → 10.0.1.9 → × 10.3.1.7
AOS: 6.8.1 → 6.10.1.14 → 7.0.1.15
FSM: 5.0.0.1 → 5.3.0.1
Foundation 5.6.1 → 5.10.4
NCC 5.0.1 → 5.3.1.1


AHV Hypervisor el8.nutanix.20230302.101026 → el8.nutanix.20230302.103053 → el8.nutanix.20230302.103087 → 10.0.1.9 → × 10.3.1.7
AOS: 6.8.1 → 6.10.1.14 → 7.0.1.15 → 7.3.1.9
FSM: 5.0.0.1 → 5.3.0.1
Foundation 5.6.1 → 5.10.4
NCC 5.0.1 → 5.3.1.1