Oracle CloudのFree Tierで仮想マシン作りたいけど、誰かに最初の設定をお任せしたい、という時の手順。
超絶に簡易的なもので、セキュリティ関連を考慮しない、全権限を渡してしまうタイプの手順になっていますので注意。
その1: Oracle Cloudにアカウントを作る
Oracle公式の「チュートリアル – Oracle Cloud Infrastructure を使ってみよう」を参照しながら実施します。
手順の中で、ホームリージョンの指定は非常に重要です。
2025/08/14時点では、Japan Central(Tokyo) について、ARMのFree Tierインスタンスがほぼ作成できません。このため、下記の様な注意書きが表示されています。
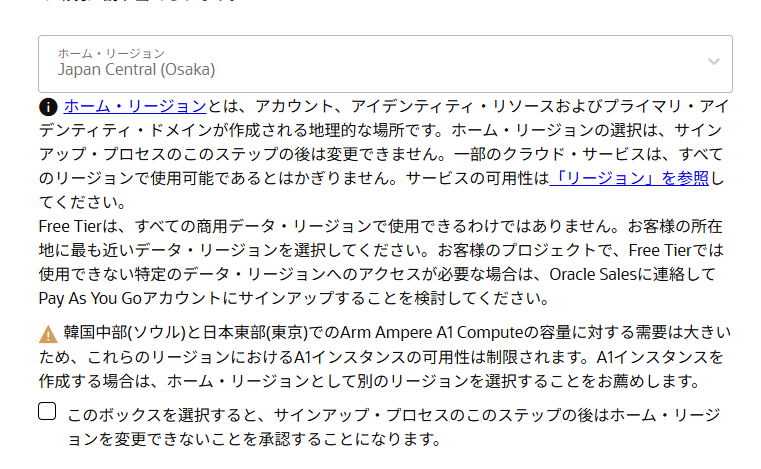
ちなみに、Japan Central (Osaka) なら空いてるのかと言えば、下記の様に空いていませんでした。
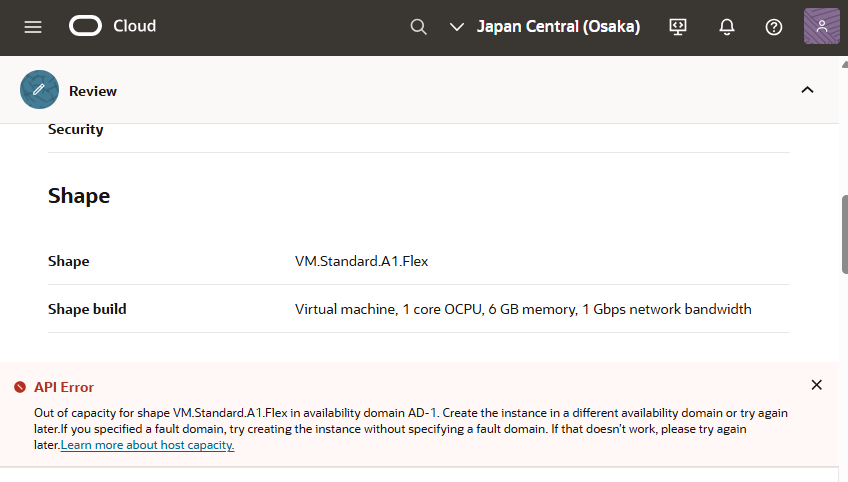
こういう風になった場合は、どうにもなりません。ホームリージョンは変更できないので、諦めるしかありません。
IntelアーキテクチャのRAM 1GBのFree Tierインスタンスを選択肢だけとなります。
その2: Oracle Cloudの管理画面にログインする
2023年に管理画面のURL は https://cloud.oracle.com/ に統一されました
また、2023年後半から2段階認証が必須となり、FIDOデバイス連携もしくはモバイルアプリ(Oracle Mobile Authenticator でなくとも、 Microsoft AuthenticatorやGoogle Authenticator でも大丈夫です。)を登録する必要がありますので、準備してください。
その3:ユーザー管理画面を開く
2024年3月版手順
「アイデンティティとセキュリティ」の「ドメイン」を開きます。

表示されるドメインから「Default」を選択します。(Defaultがない場合は、”コンパートメント”から(ルート)となっているものを選択します)

Defaultドメインでは「ユーザー」を選択します
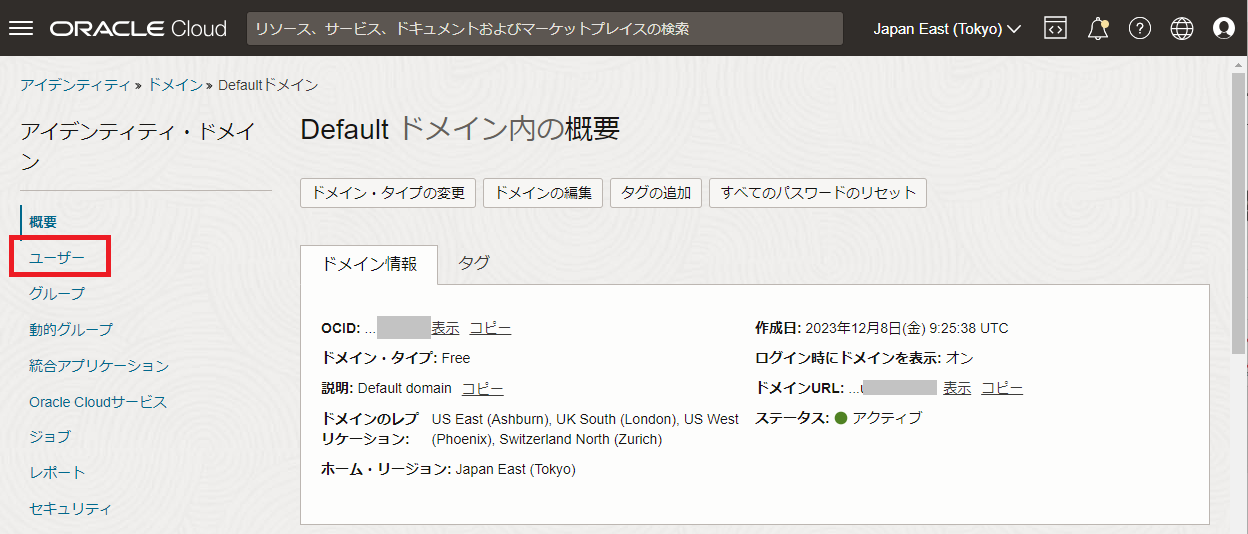
開くと現在登録されているユーザー一覧が表示されます。

その4: ユーザー追加
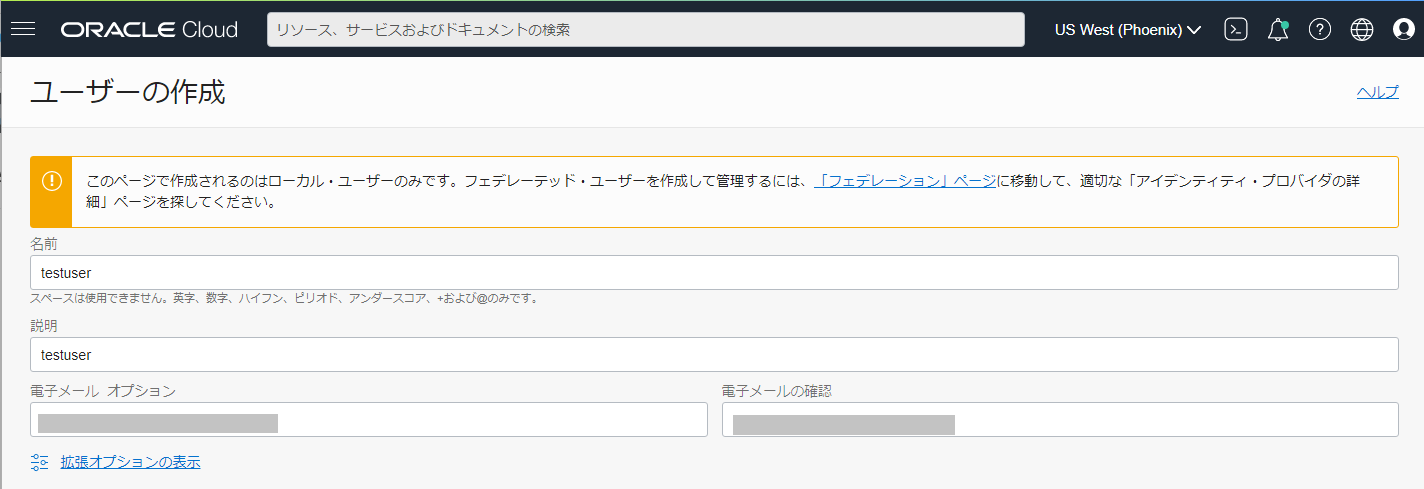
「ユーザーの作成」をクリックして、下記の画面で「名前」としてログインする際に入力するユーザの名前を指定します。
説明はユーザを区別しやすくするためのものを入れて、最後にユーザー作成メールが届くメールアドレスを入力します。
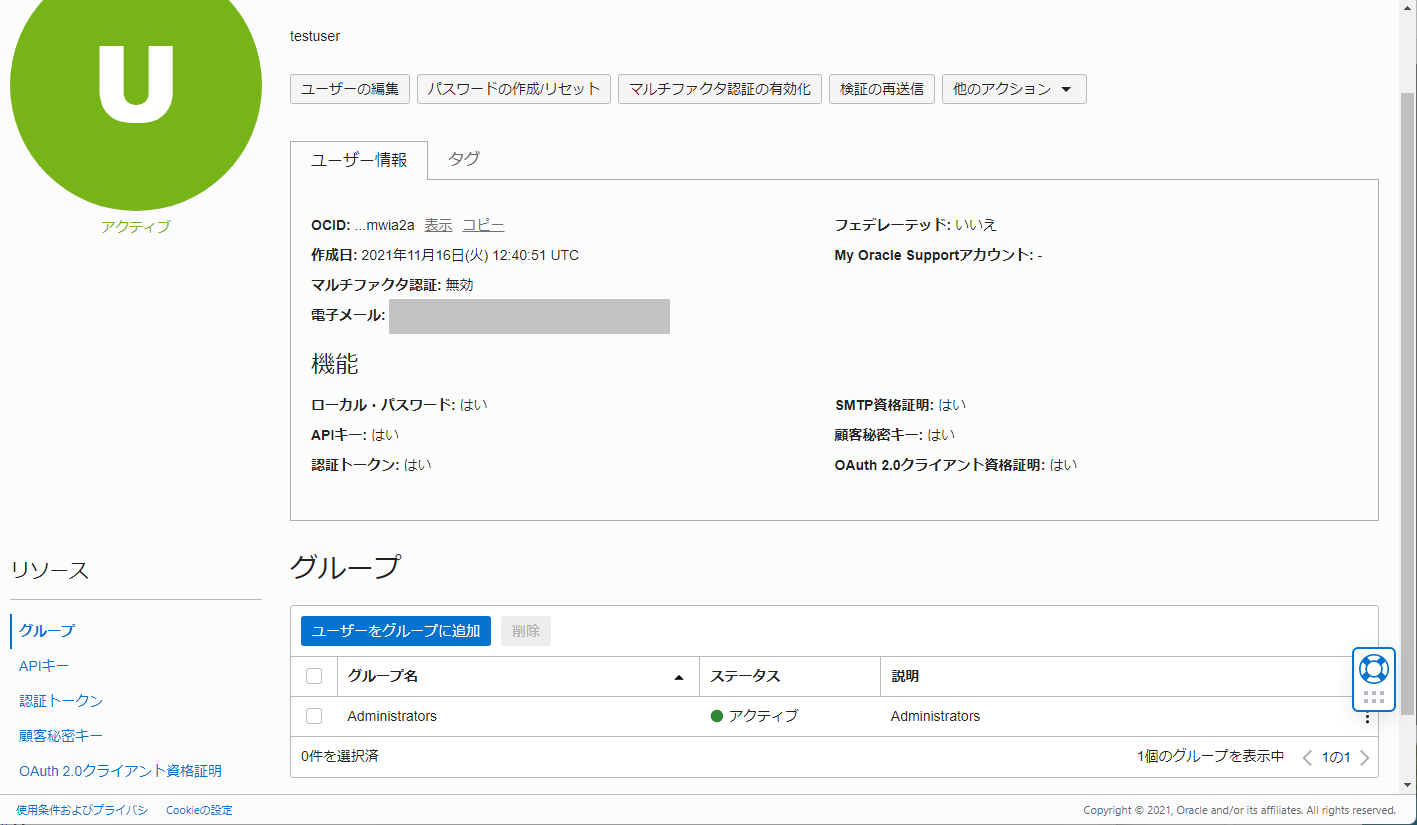
作成すると下記のようなユーザー画面に移動します
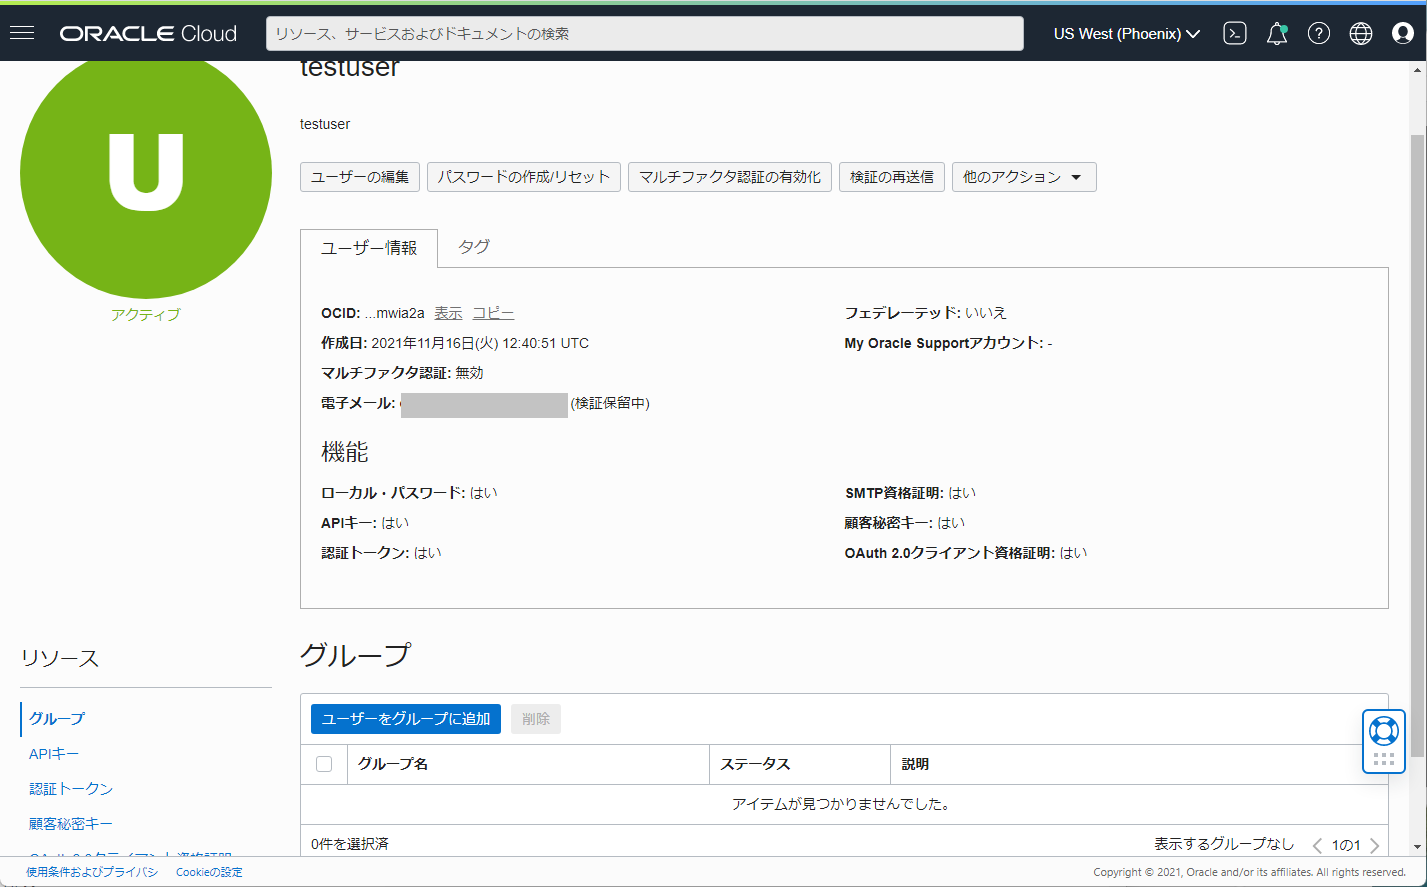
電子メールのところが「検証保留中」となっています。
「ユーザーのパスワード作成/リセット」を選択します
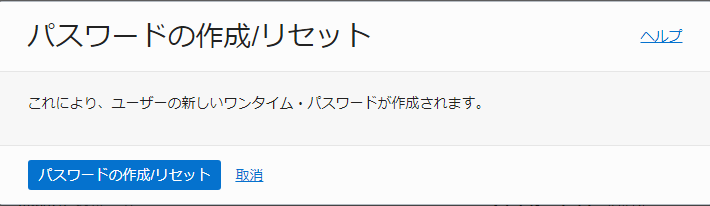
ここで「パスワードの作成/リセット」をクリックすると下記の画面になります。
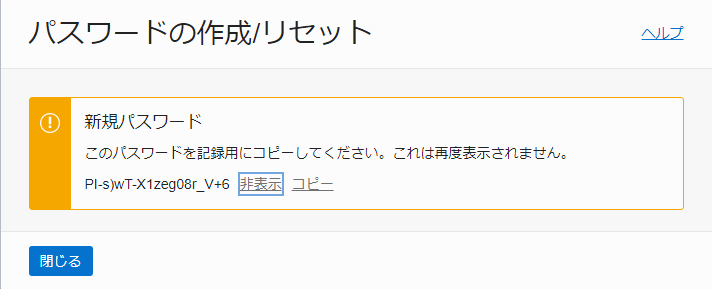
このパスワードは、認証する際に必要となります。ユーザ作成時に指定したメールアドレスのユーザに何らかの手段で伝えてください。
その5: ユーザー権限の追加
「ユーザーをグループに追加」を選択し、「Administrators」を選び、追加します

これでそのユーザに全ての権限を割り当てています。
なので、仮想マシンの削除も出来てしまいます。作業が終わったあとの取り扱いに注意が必要です。
その6: 届いたユーザ側の手続き
指定したメールアドレスには下記の様なメールが届いています。
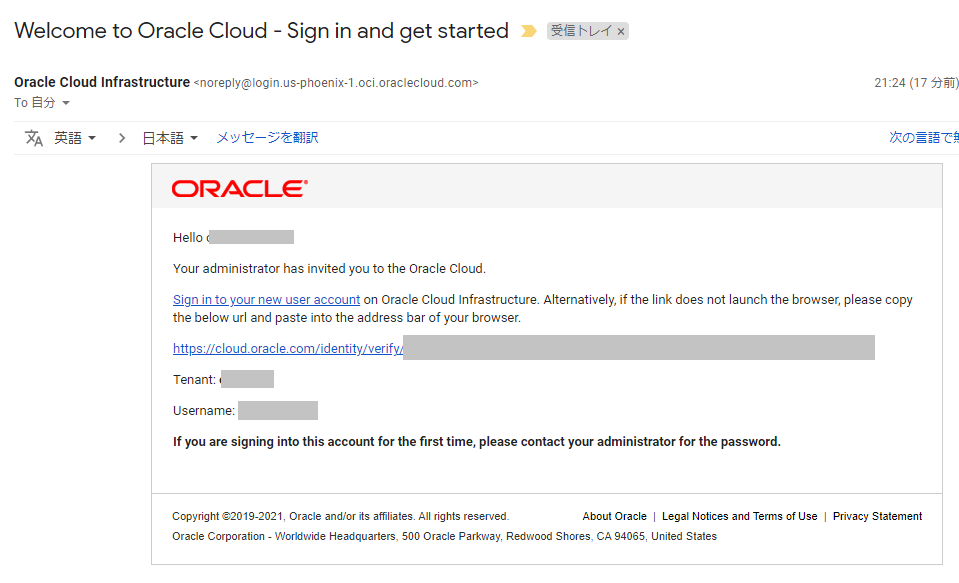
URLをクリックして、もらったユーザ名とパスワードを入力してログインします。
2024年3月版手順追加
仮パスワードから本パスワードに設定したあと、2段階認証の設定を要求されます。
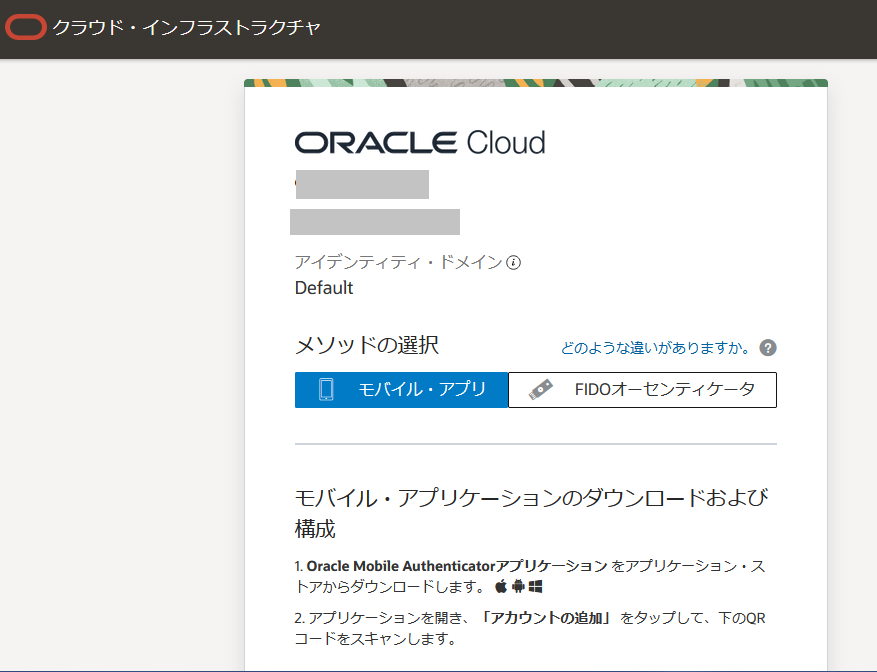
Oracle Mobile Authenticator でなくとも、 Microsoft AuthenticatorやGoogle Authenticator でも大丈夫です。
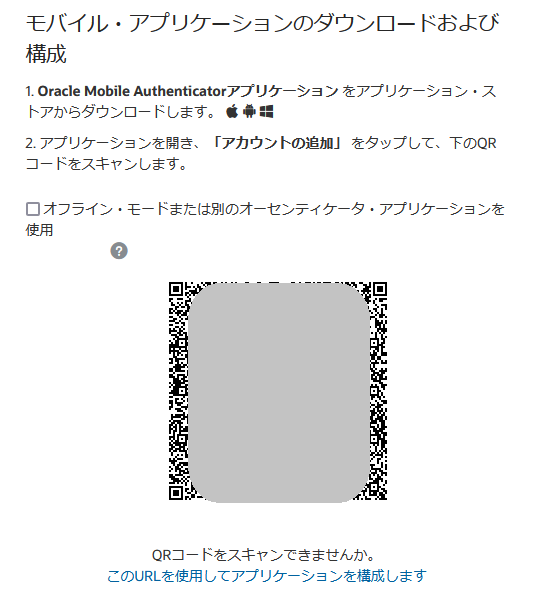
私は Microsoft Authenticator を使用しています。その場合は、「オフライン・モードまたは別のオーセンティケータ・アプリケーションを使用」にチェックを入れて、QRコードを読み込みます。
登録完了/作業開始
ユーザ登録が完了したら必要な作業をやっていきます。
作業完了後手順
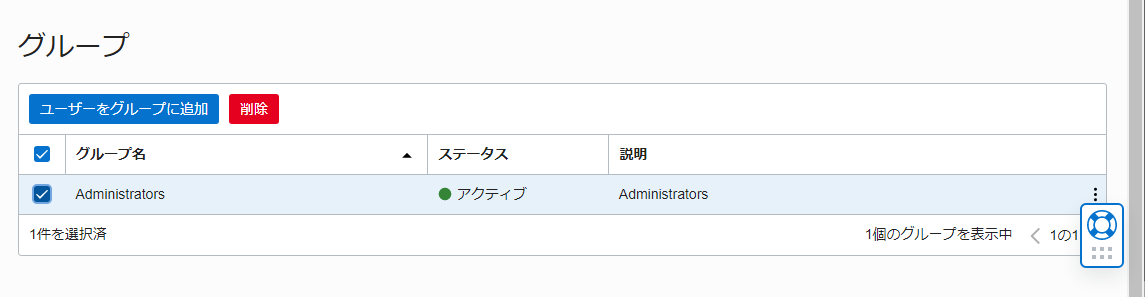
作業が終わったら、ユーザーのグループにある「administrators」の登録を削除します。

各ユーザの「グループ」にあるAdministratorの前にあるチェックボックスにチェックを入れて「削除」をクリックします。
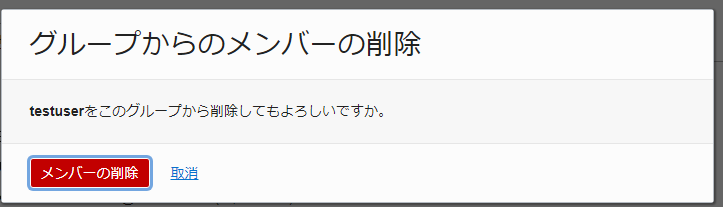
「メンバーの削除」を選択すると下記の様にグループになにも表示されない状態となります。
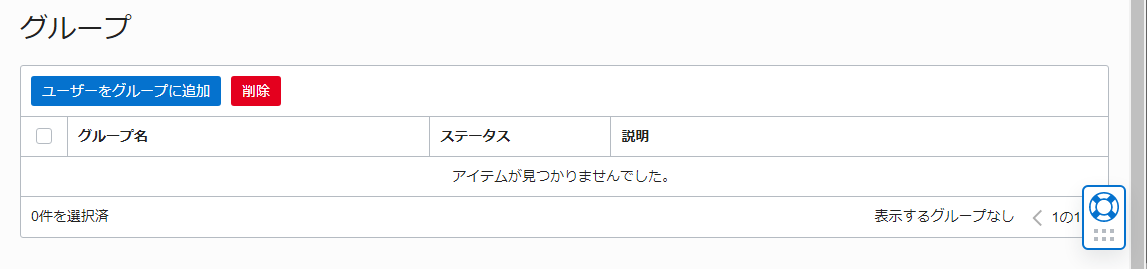
この状態であればログインは出来るけど、作業はなにもできません。
そこから、さらにユーザーの削除を行う場合は「他のアクション」から「削除」を選択します。

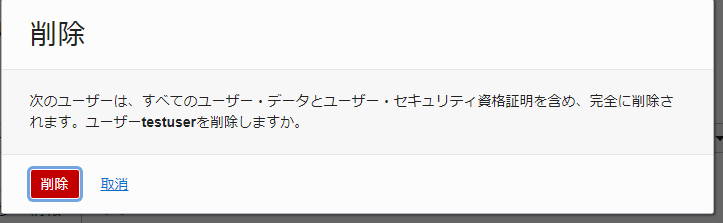
これでログインもできなくなりました。
なお、この手順で削除されるのはOracle Cloudの管理画面だけで、別途wordpressなどの管理画面アクセスについてはそちらの設定で削除する必要がある点に注意してください。